
So while looking around for alternatives to Rogers Cable and Bell TV, and after having tried out the Satellite dish hacks awhile back, a friend pointed me to XBMC (X Box Media Center)
First, i tried it out on my cell phone. I downloaded it off the Google play store.
I looked up a couple instructions for what add-ons to get, and how to deal with add ons for XBMC.
The first one I went with was XBMC Hub.
Within a few minutes I was watching a movie on my Cell phone, streamed from some unknown source through the graces of peer to peer streaming.
I struggled with some ideas as to how to get this on my TV. Samsung doesn’t open up their TVs to just any apps.. and there are none for free streaming.
I could just use the output from my laptop running XBMC, and plug that into the TV.. but that means plugging in a laptop everytime.
The TV accesses network sources and media centers running remotely.. but only as a file share – not for streaming (ie. no files exist on the cell phone or laptop when watching a streamed movie). So that won’t work either.
There is also Miracast.. .Where my tablet or cell phone could have it’s screen being streamed to the TV as a mirrored copy.. But my TV doesn’t have Miracast so I’d have to buy a Dongle for that.. and I’m not a fan of having to keep the device on the whole time (it’s a true mirror, so you can’t even let the device sleep)
Then I happened upon Raspberry Pi devices. It’s a mini computer really, for around 45$. It has basically nothing but a processor, ethernet cable, HDMI output, micro USB power input, 2 USB ports, SD card slot that it boots from, analogue sound output, and RCA video out.
The more I looked into this little thing, the more interesting gadgets and things people made with it.
But the one I was most interested in, was using the operating system based on Linux, called Raspbmc. Its basically an operating system dedicated to XBMC.
So hook the TV’s USB cord to the power input, the HDMI from the Pi to the TV, and an ethernet cable to the Pi. The TV can then run off the XBMC program, and you can stream direct to the TV though HDMI.
I decided to go out and grab one, and just see if I’d be able to do it without buying anything else.
I knew I didn’t have any 4GB SD cards though.. and I decided to spring an extra 5$ on top of the cost of buying one, to have the place pre load the card with NOOBS.
NOOBS is a simple boot up program that allows you to choose the OS you want to install.. and allows for easy replacement later if you wish.
So I came home.. First challenge – powering the Pi. I hadn’t realized it was a micro USB.. I had a larger version. But then I found that my cell phone charger had the same size (I have a Samsung Google Nexus).
I had a short HDMI to plug into the TV.. And I already had an Ethernet cable hooked up to my TV – i just swapped it into the pi.
I also had an audio plug i used for hooking up my sterio to my Ipod deck. I used this cable and plugged it into the analogue sound output on the Pi.
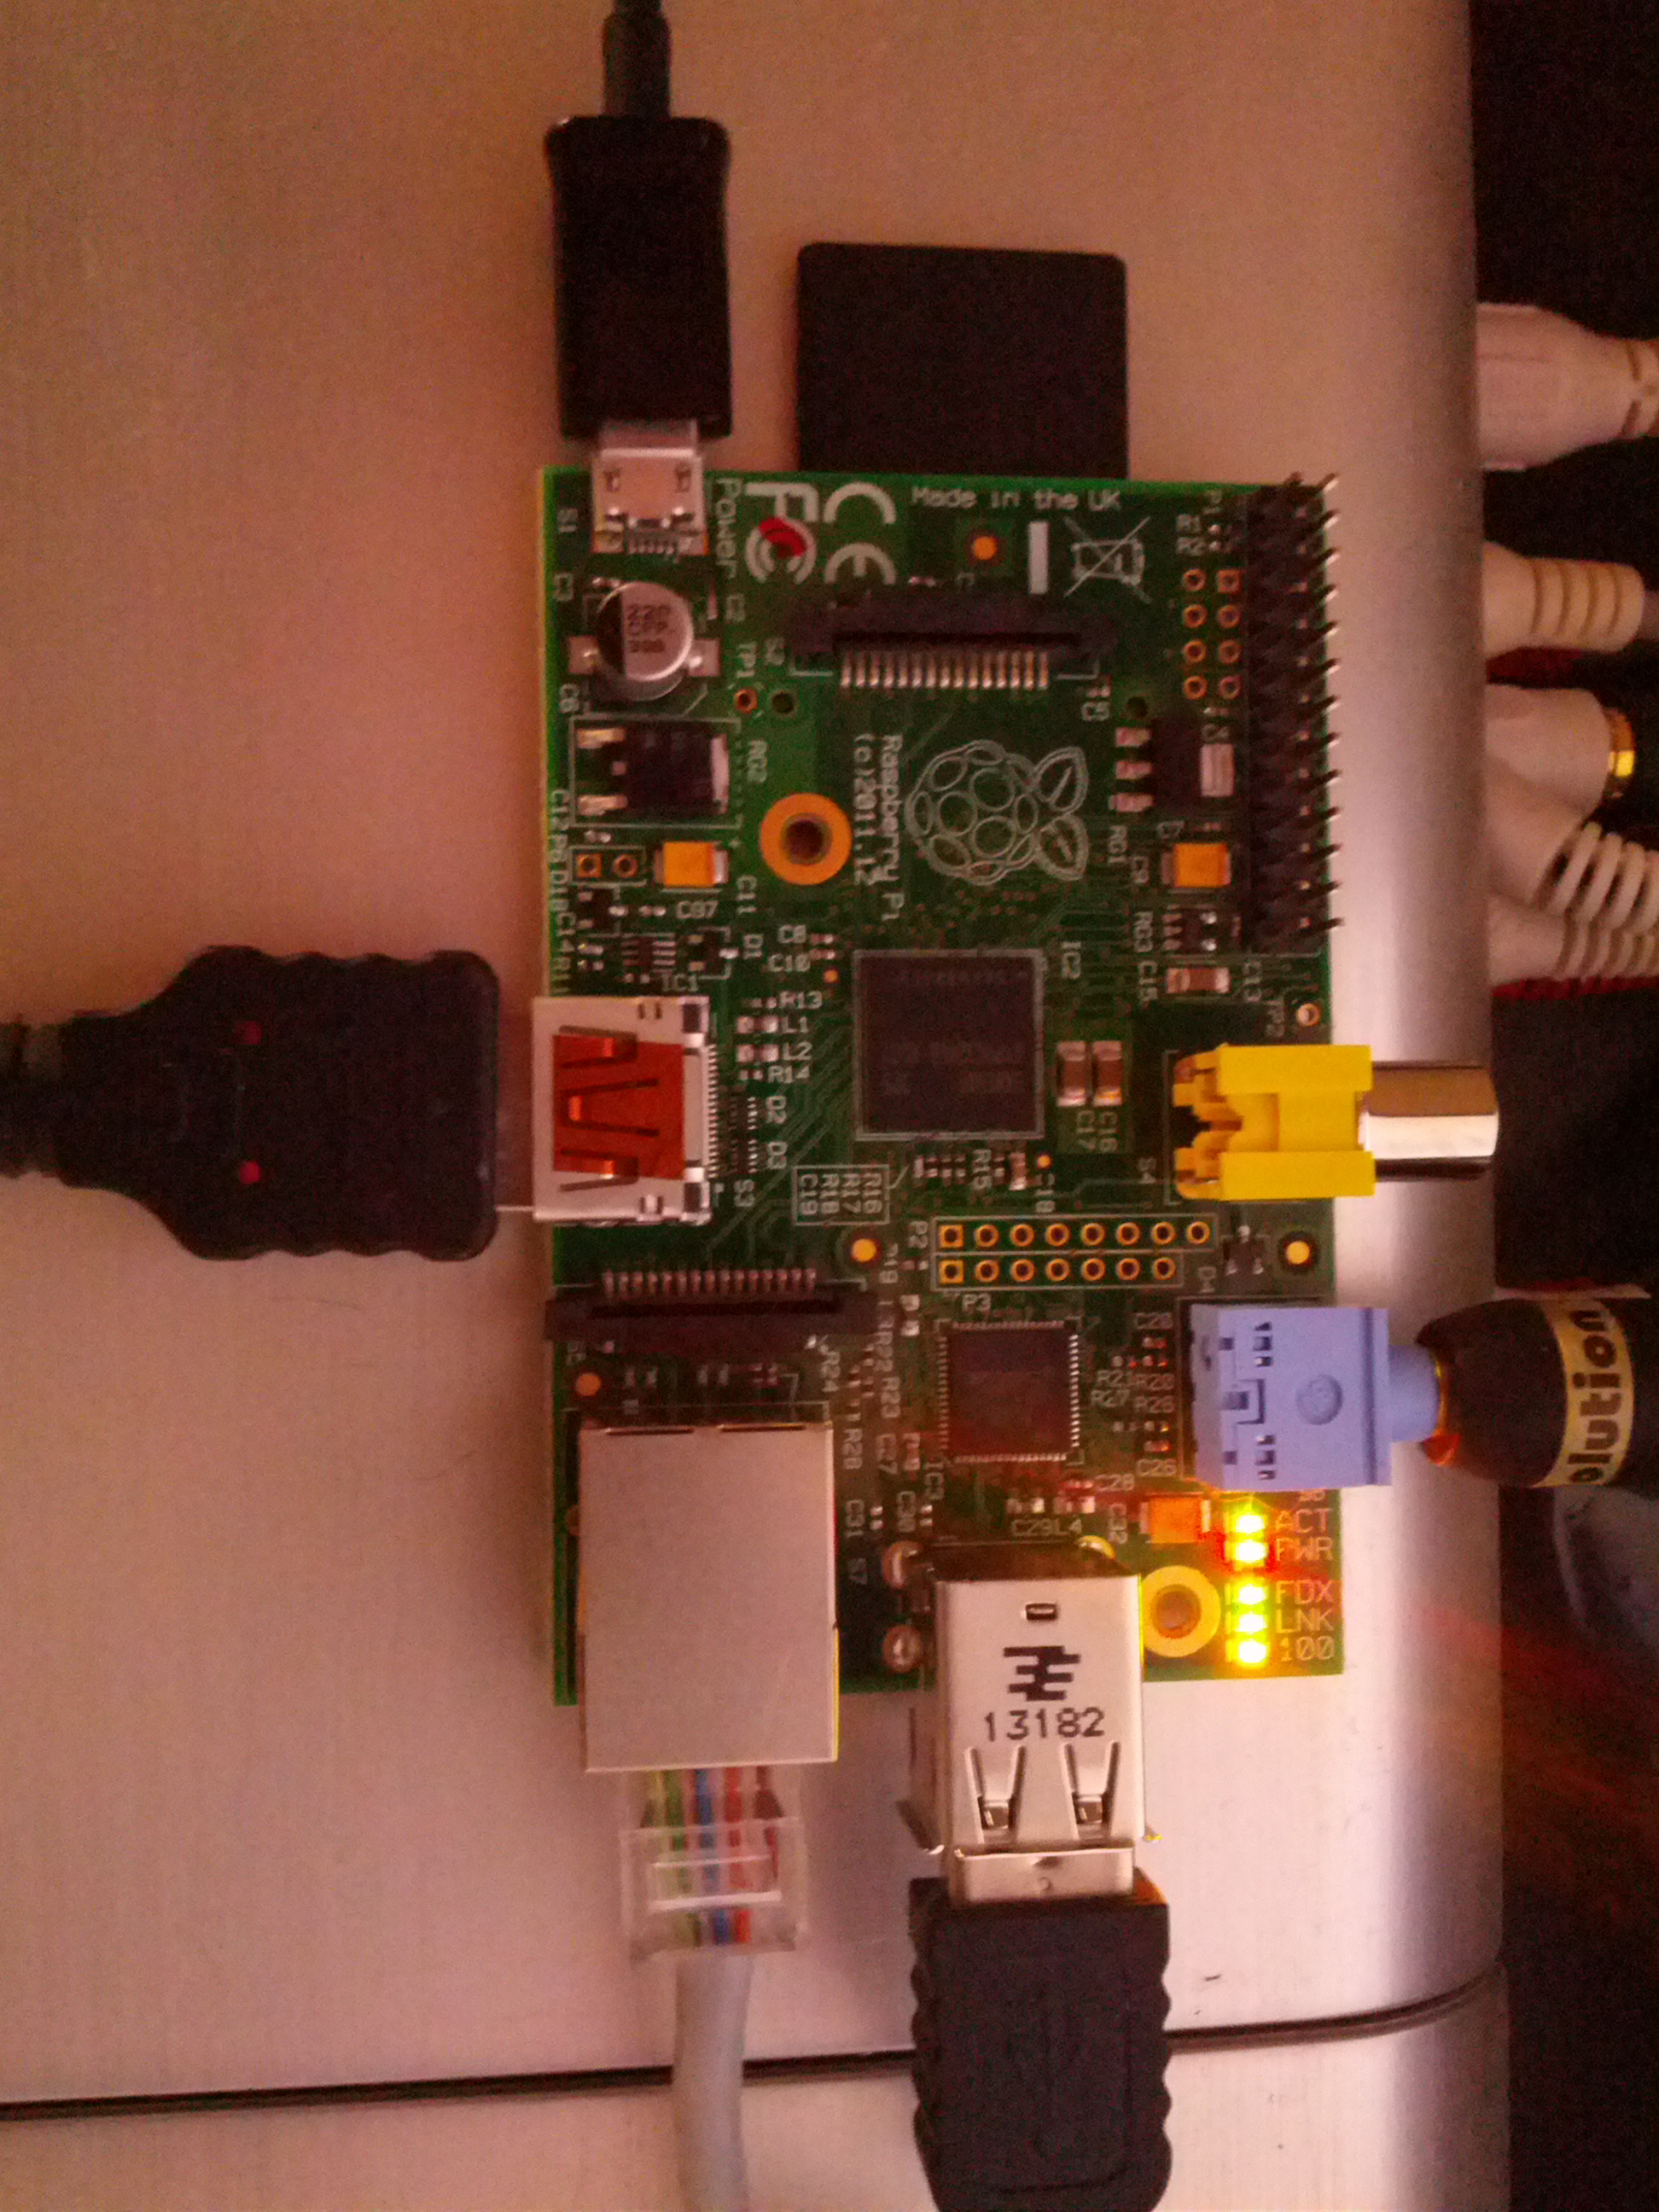
I decided to plug the power into the wall using the charger, rather then to the TV via USB to start.. just incase.
The boot up OS install option came up. However, I couldn’t control it yet. The TV remote wouldn’t work.. yet.. (I had read about HDMI CEC). I figured the OS had to be up and running first for that.
So hard as it is to believe, I was almost stuck there. I actually have no USB keyboards or mice. the last time I bought one of those it was still PC2 plugs!
As luck would have it, after racking my brains for awhile, I thought to check my client’s laptop bag they provided me (they often do, but I just use my own backpack). And low and behold, they provided me with a USB mouse. Nice!
So I plugged that into the USB port, and bingo, I was able to select Raspbmc as my OS to install.
I literally only needed the mouse for 2 clicks.
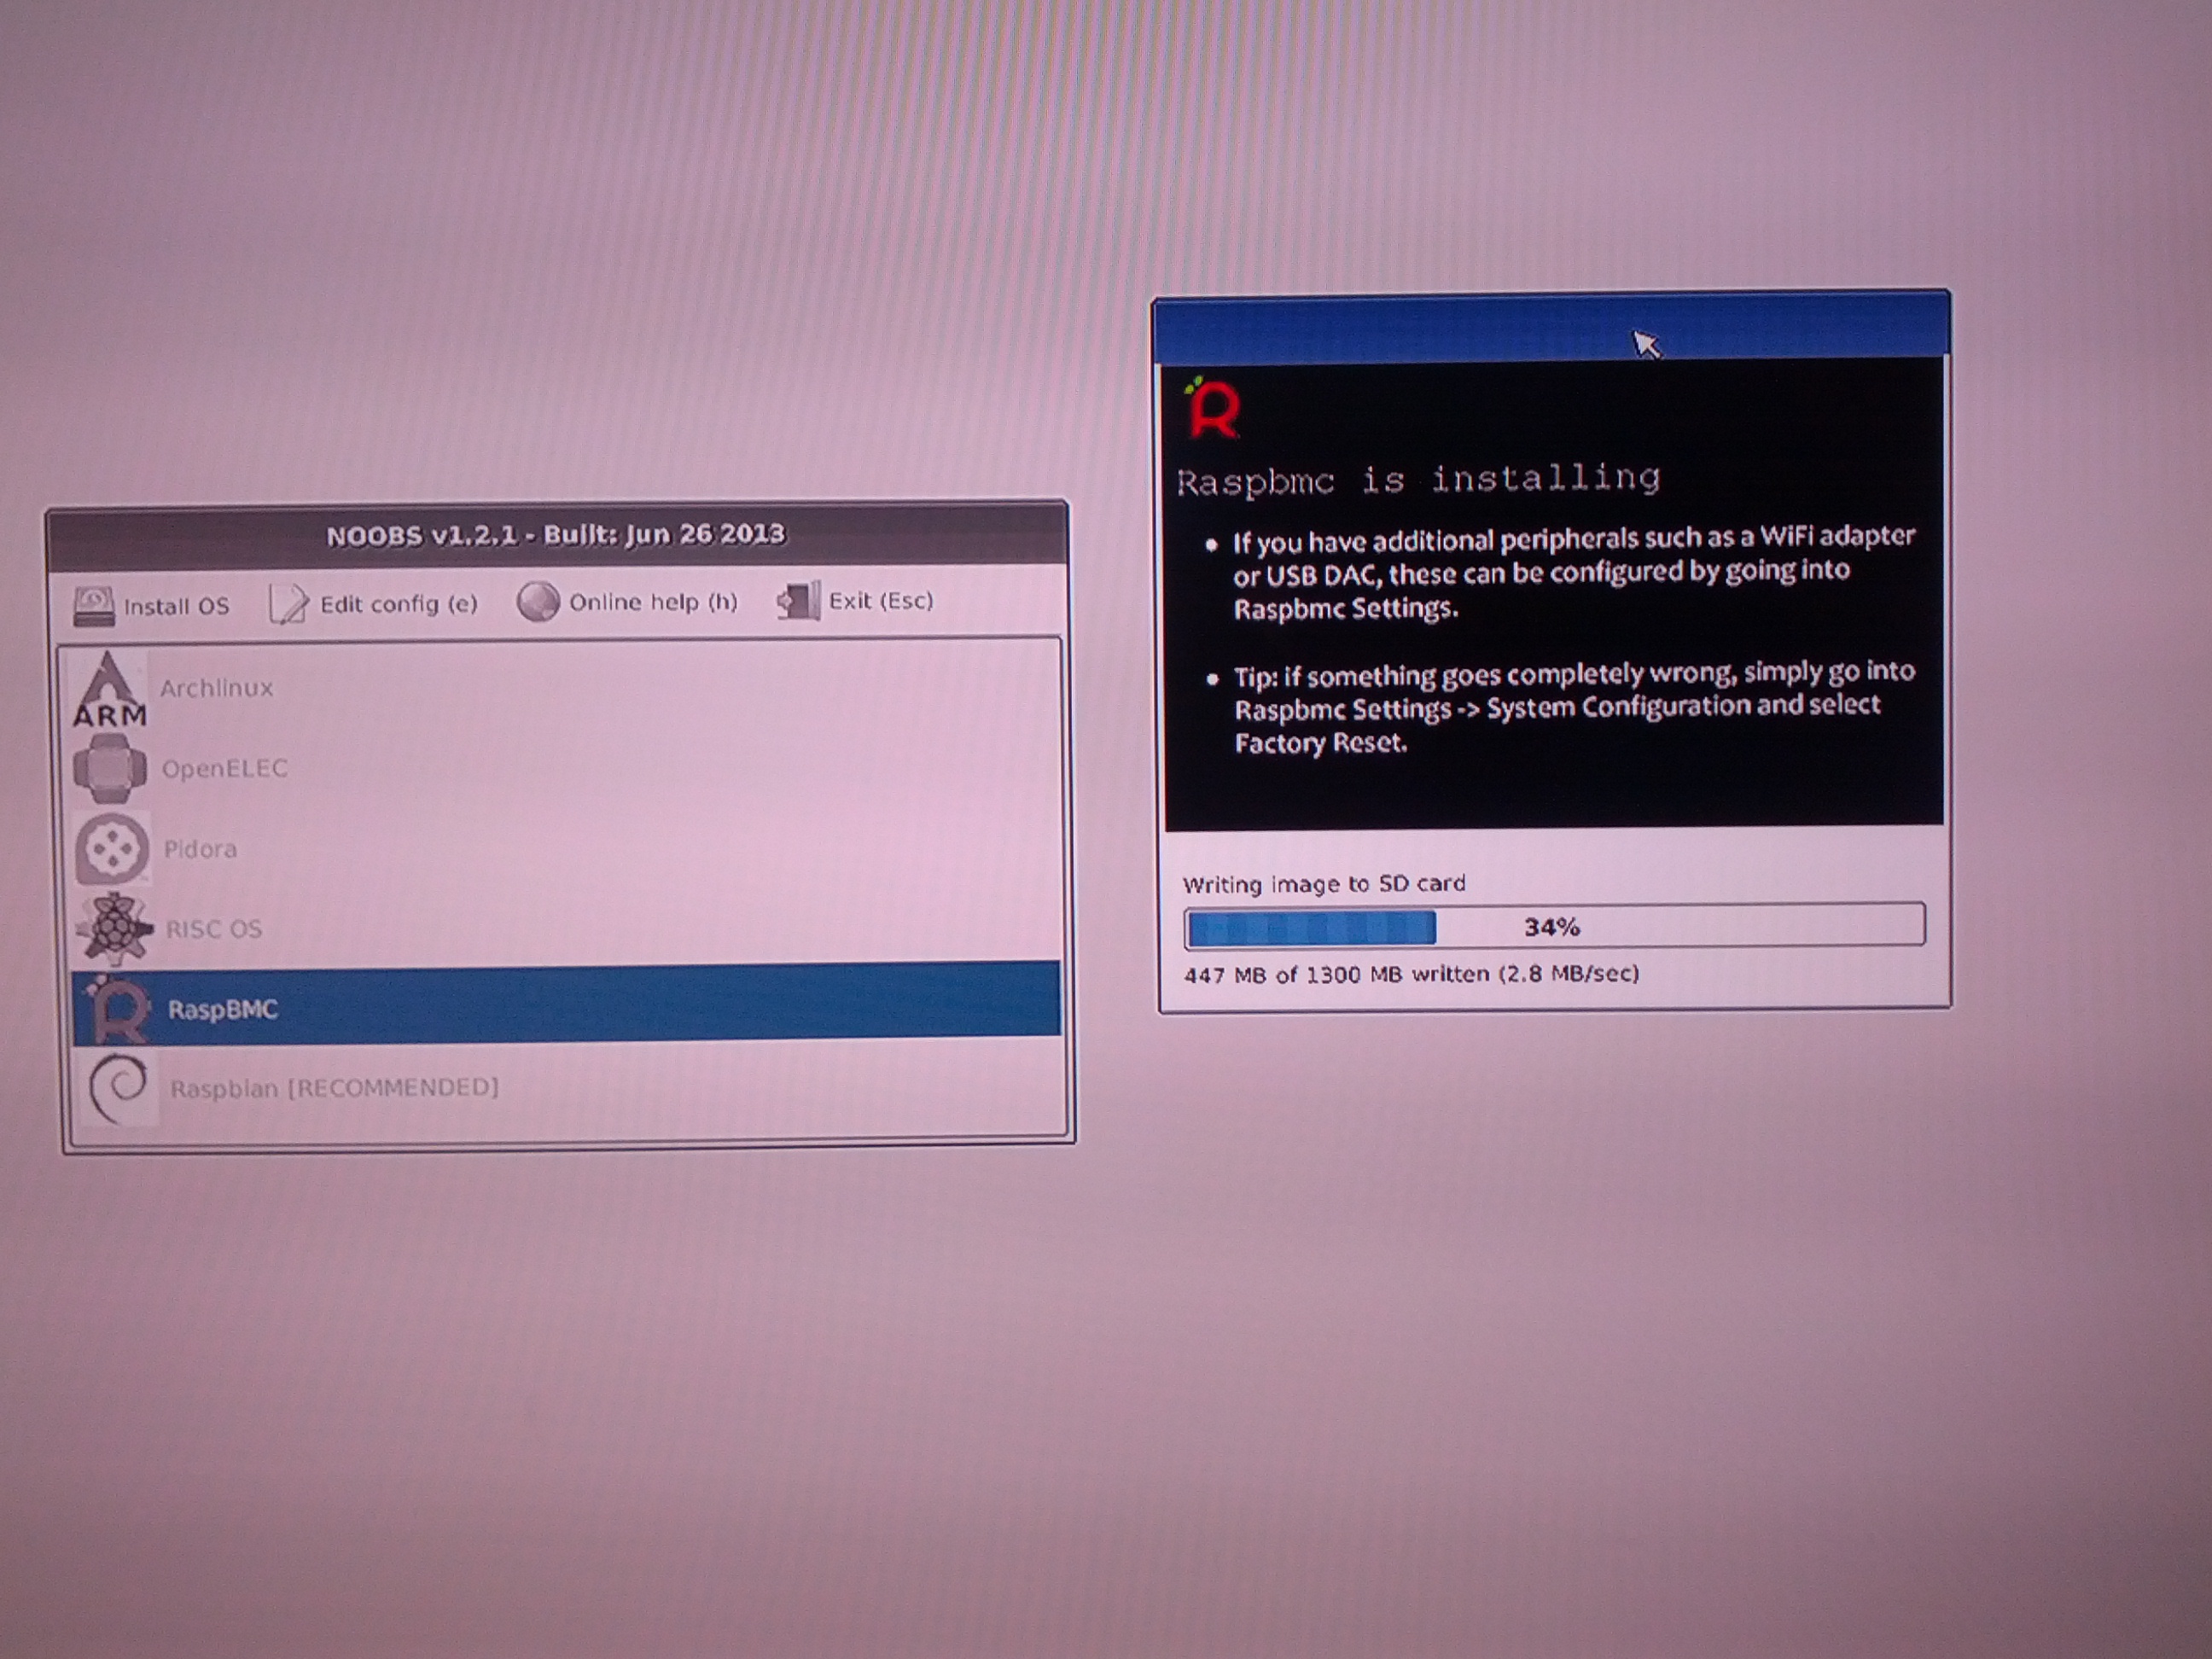
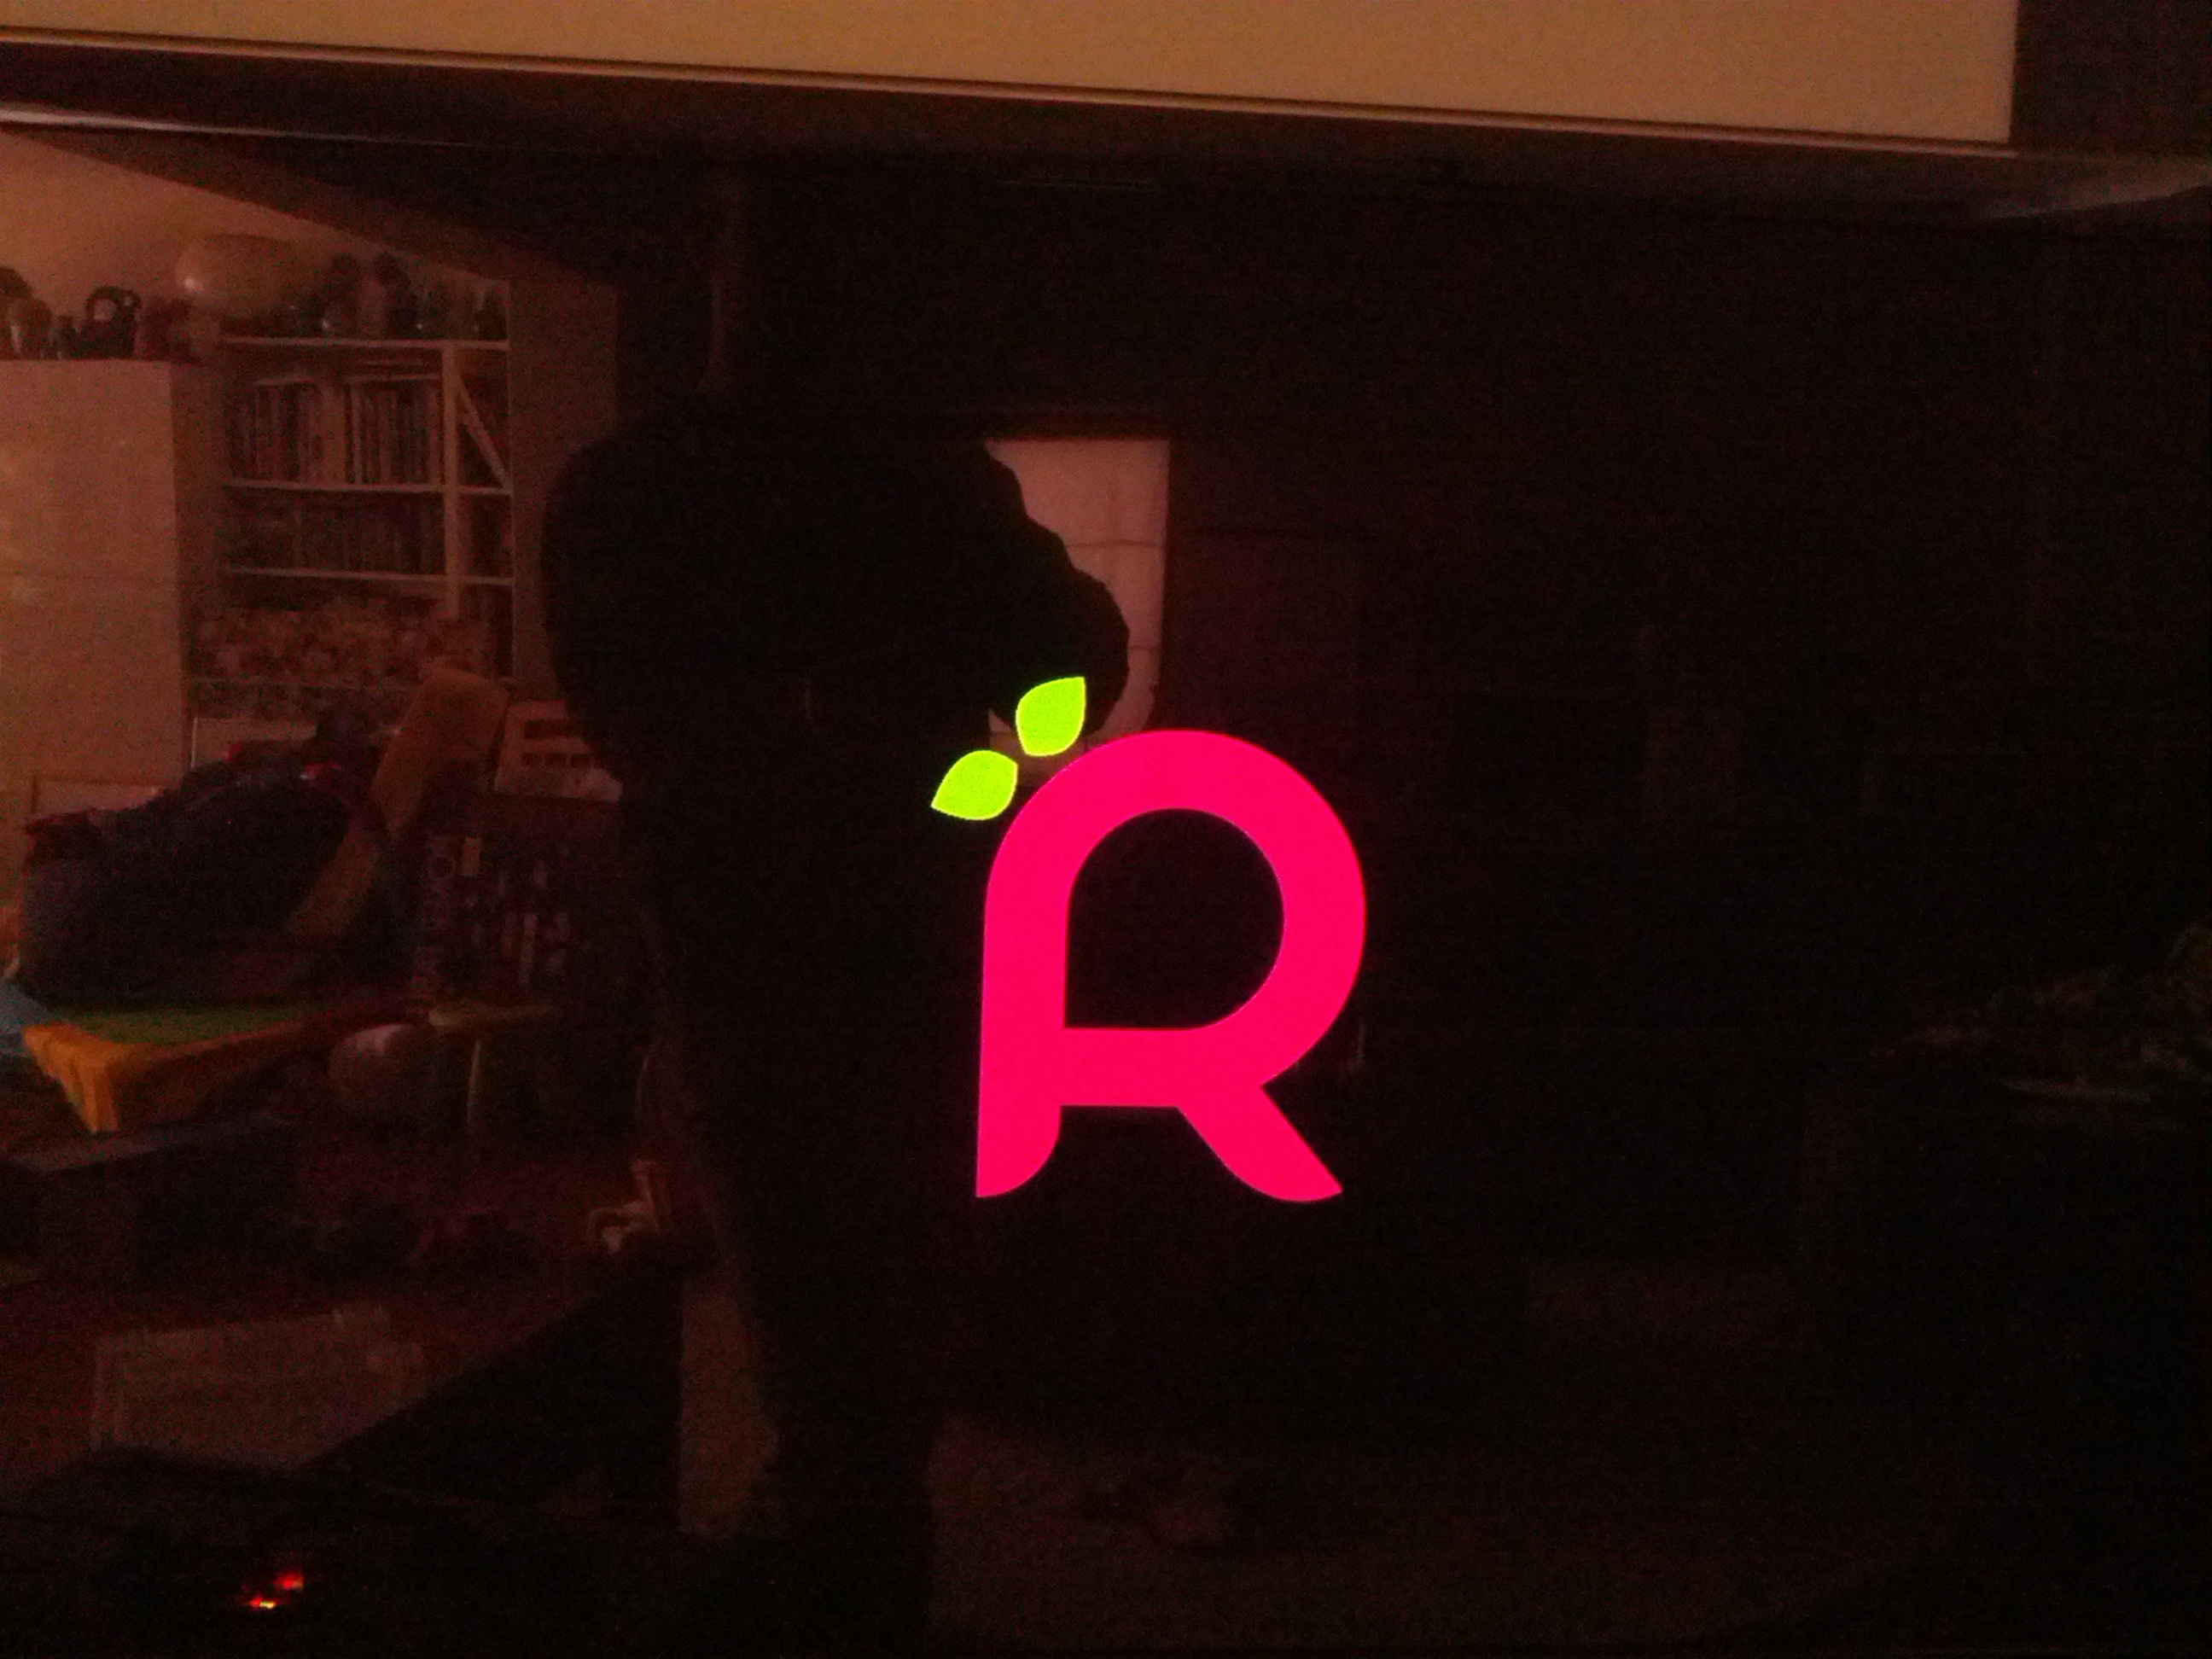
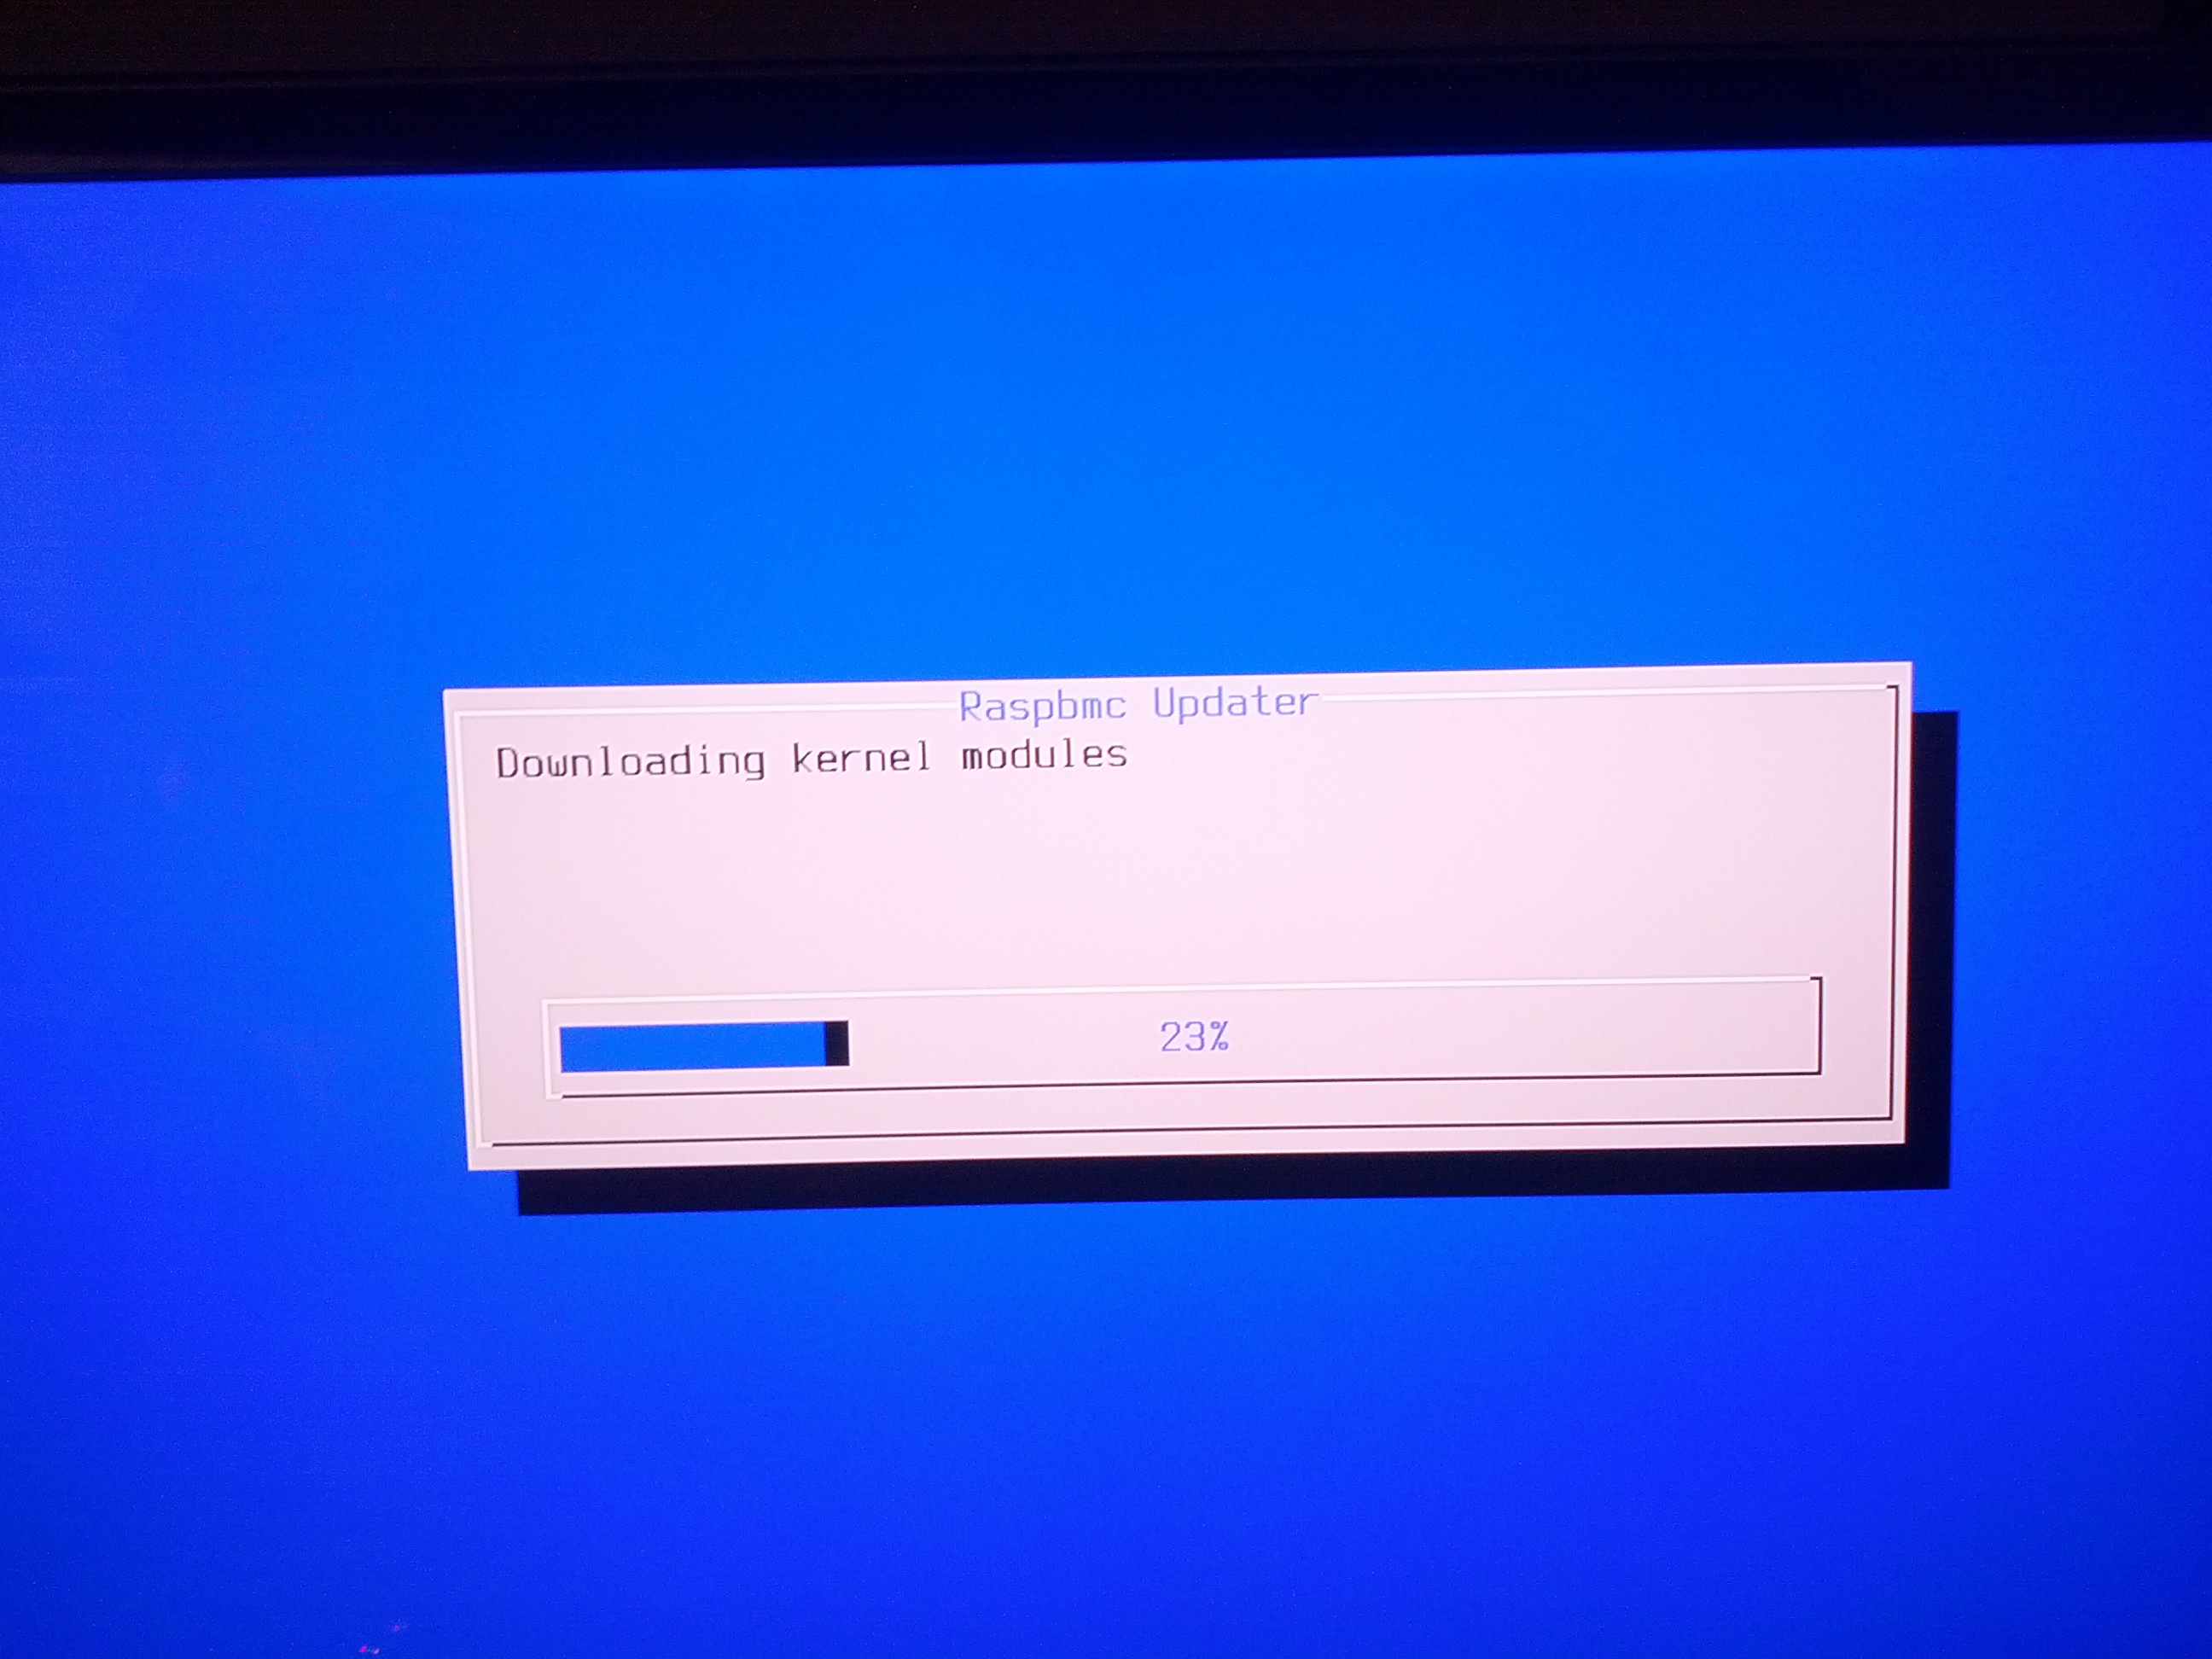
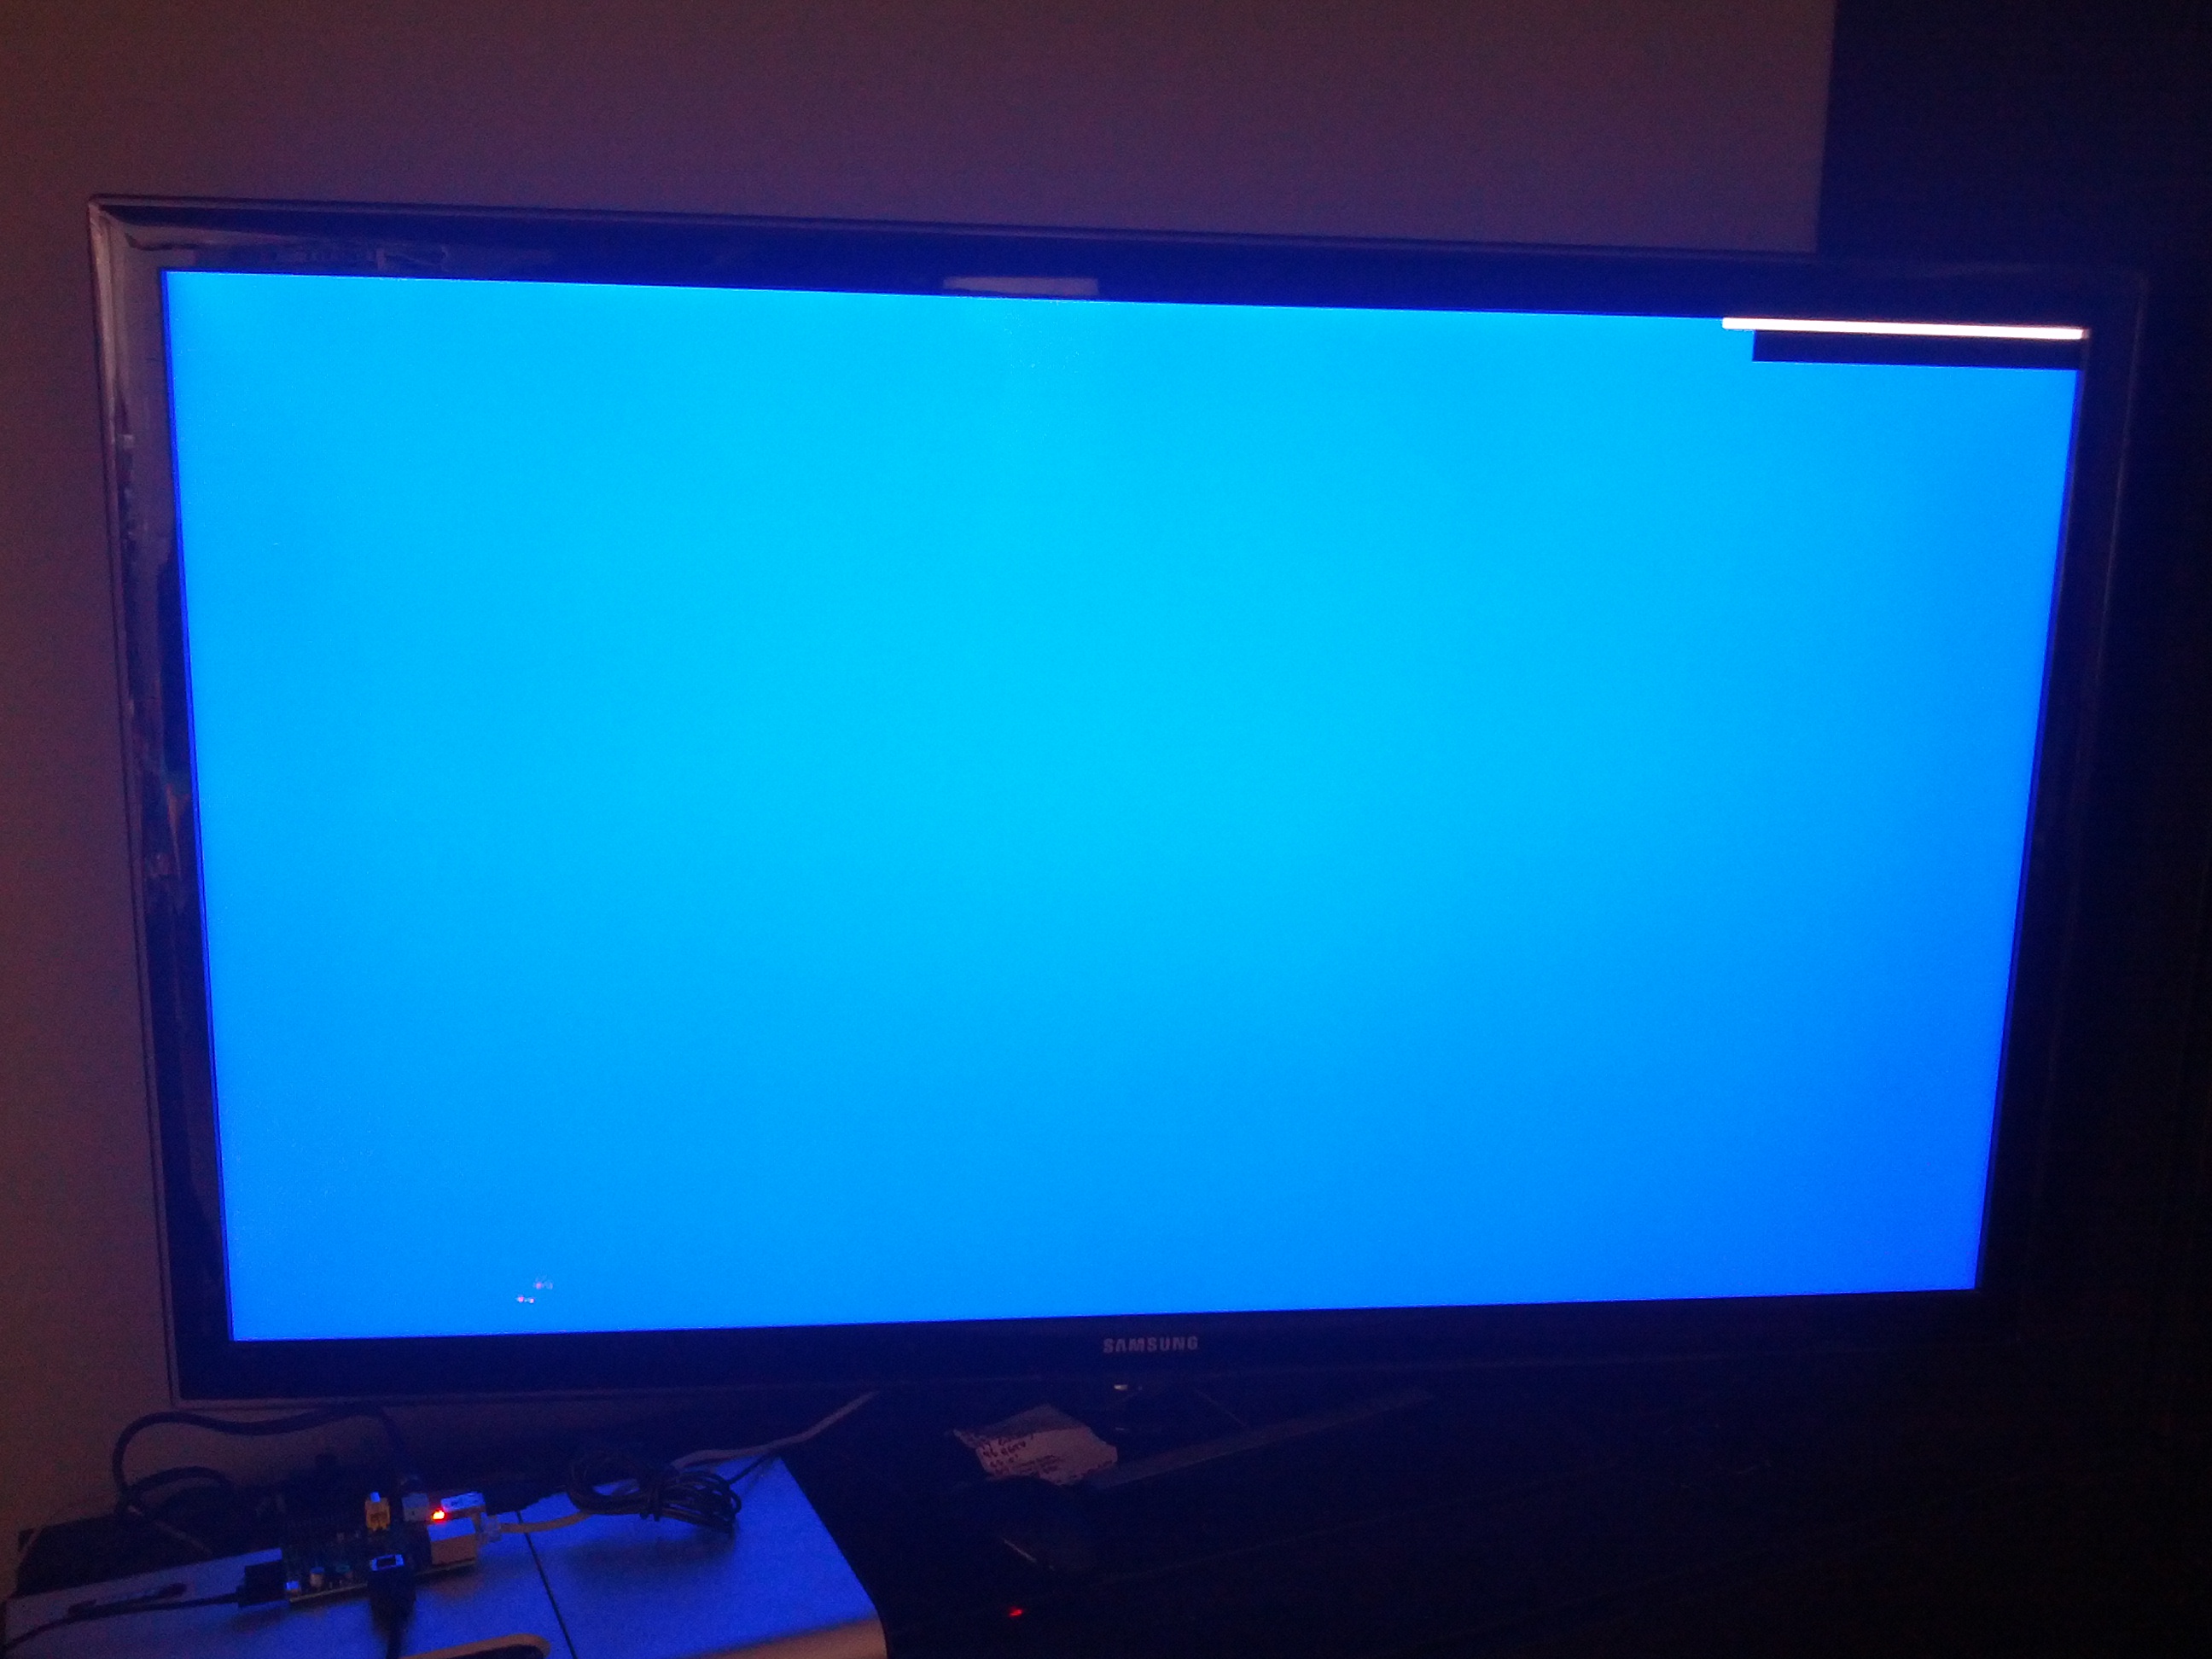
It ran through a ton of downloading, extracting, installing, configuring.. I started to sweat thinking it was stuck in a reboot loop at one point. It didn’t help that the status bar wasn’t aligned right, so I couldn’t even see what it was actually doing – if it was any different from the last time it rebooted.
But I just let it go. had lots of patience. Some of the screens I saw:
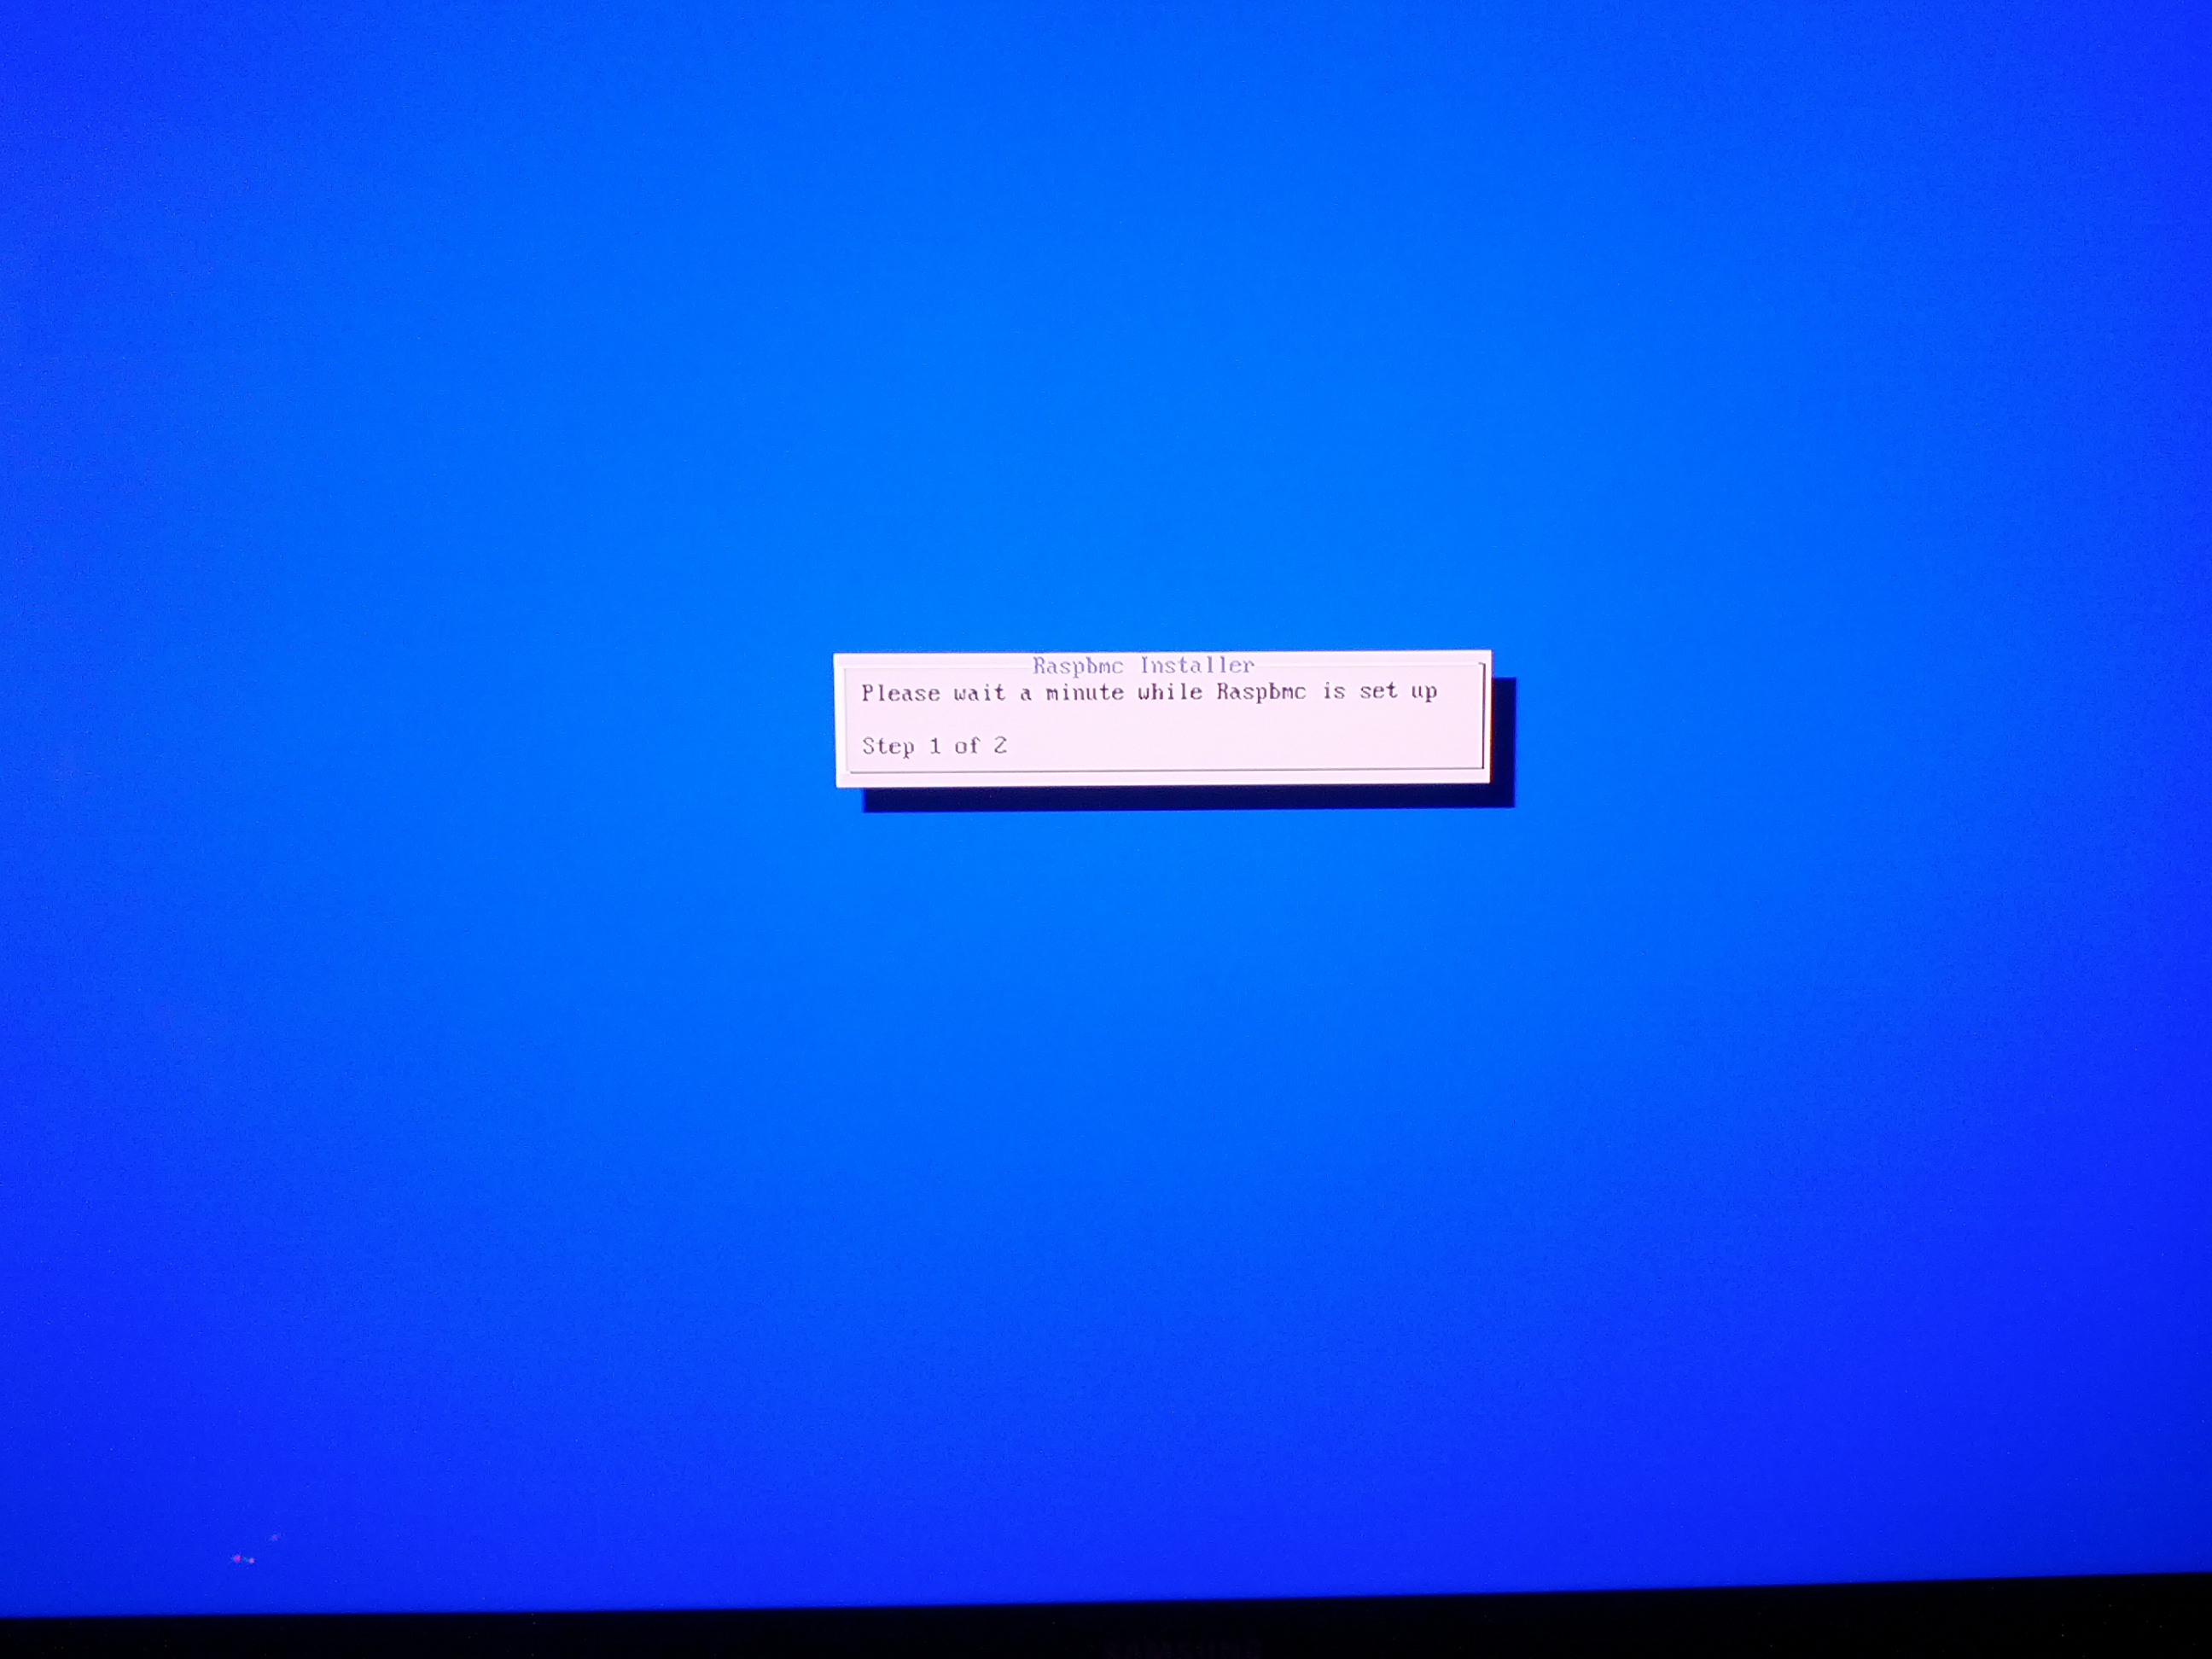
and here is the common one during the last while, with the status bar in the upper right:
But it did eventually reboot with this:
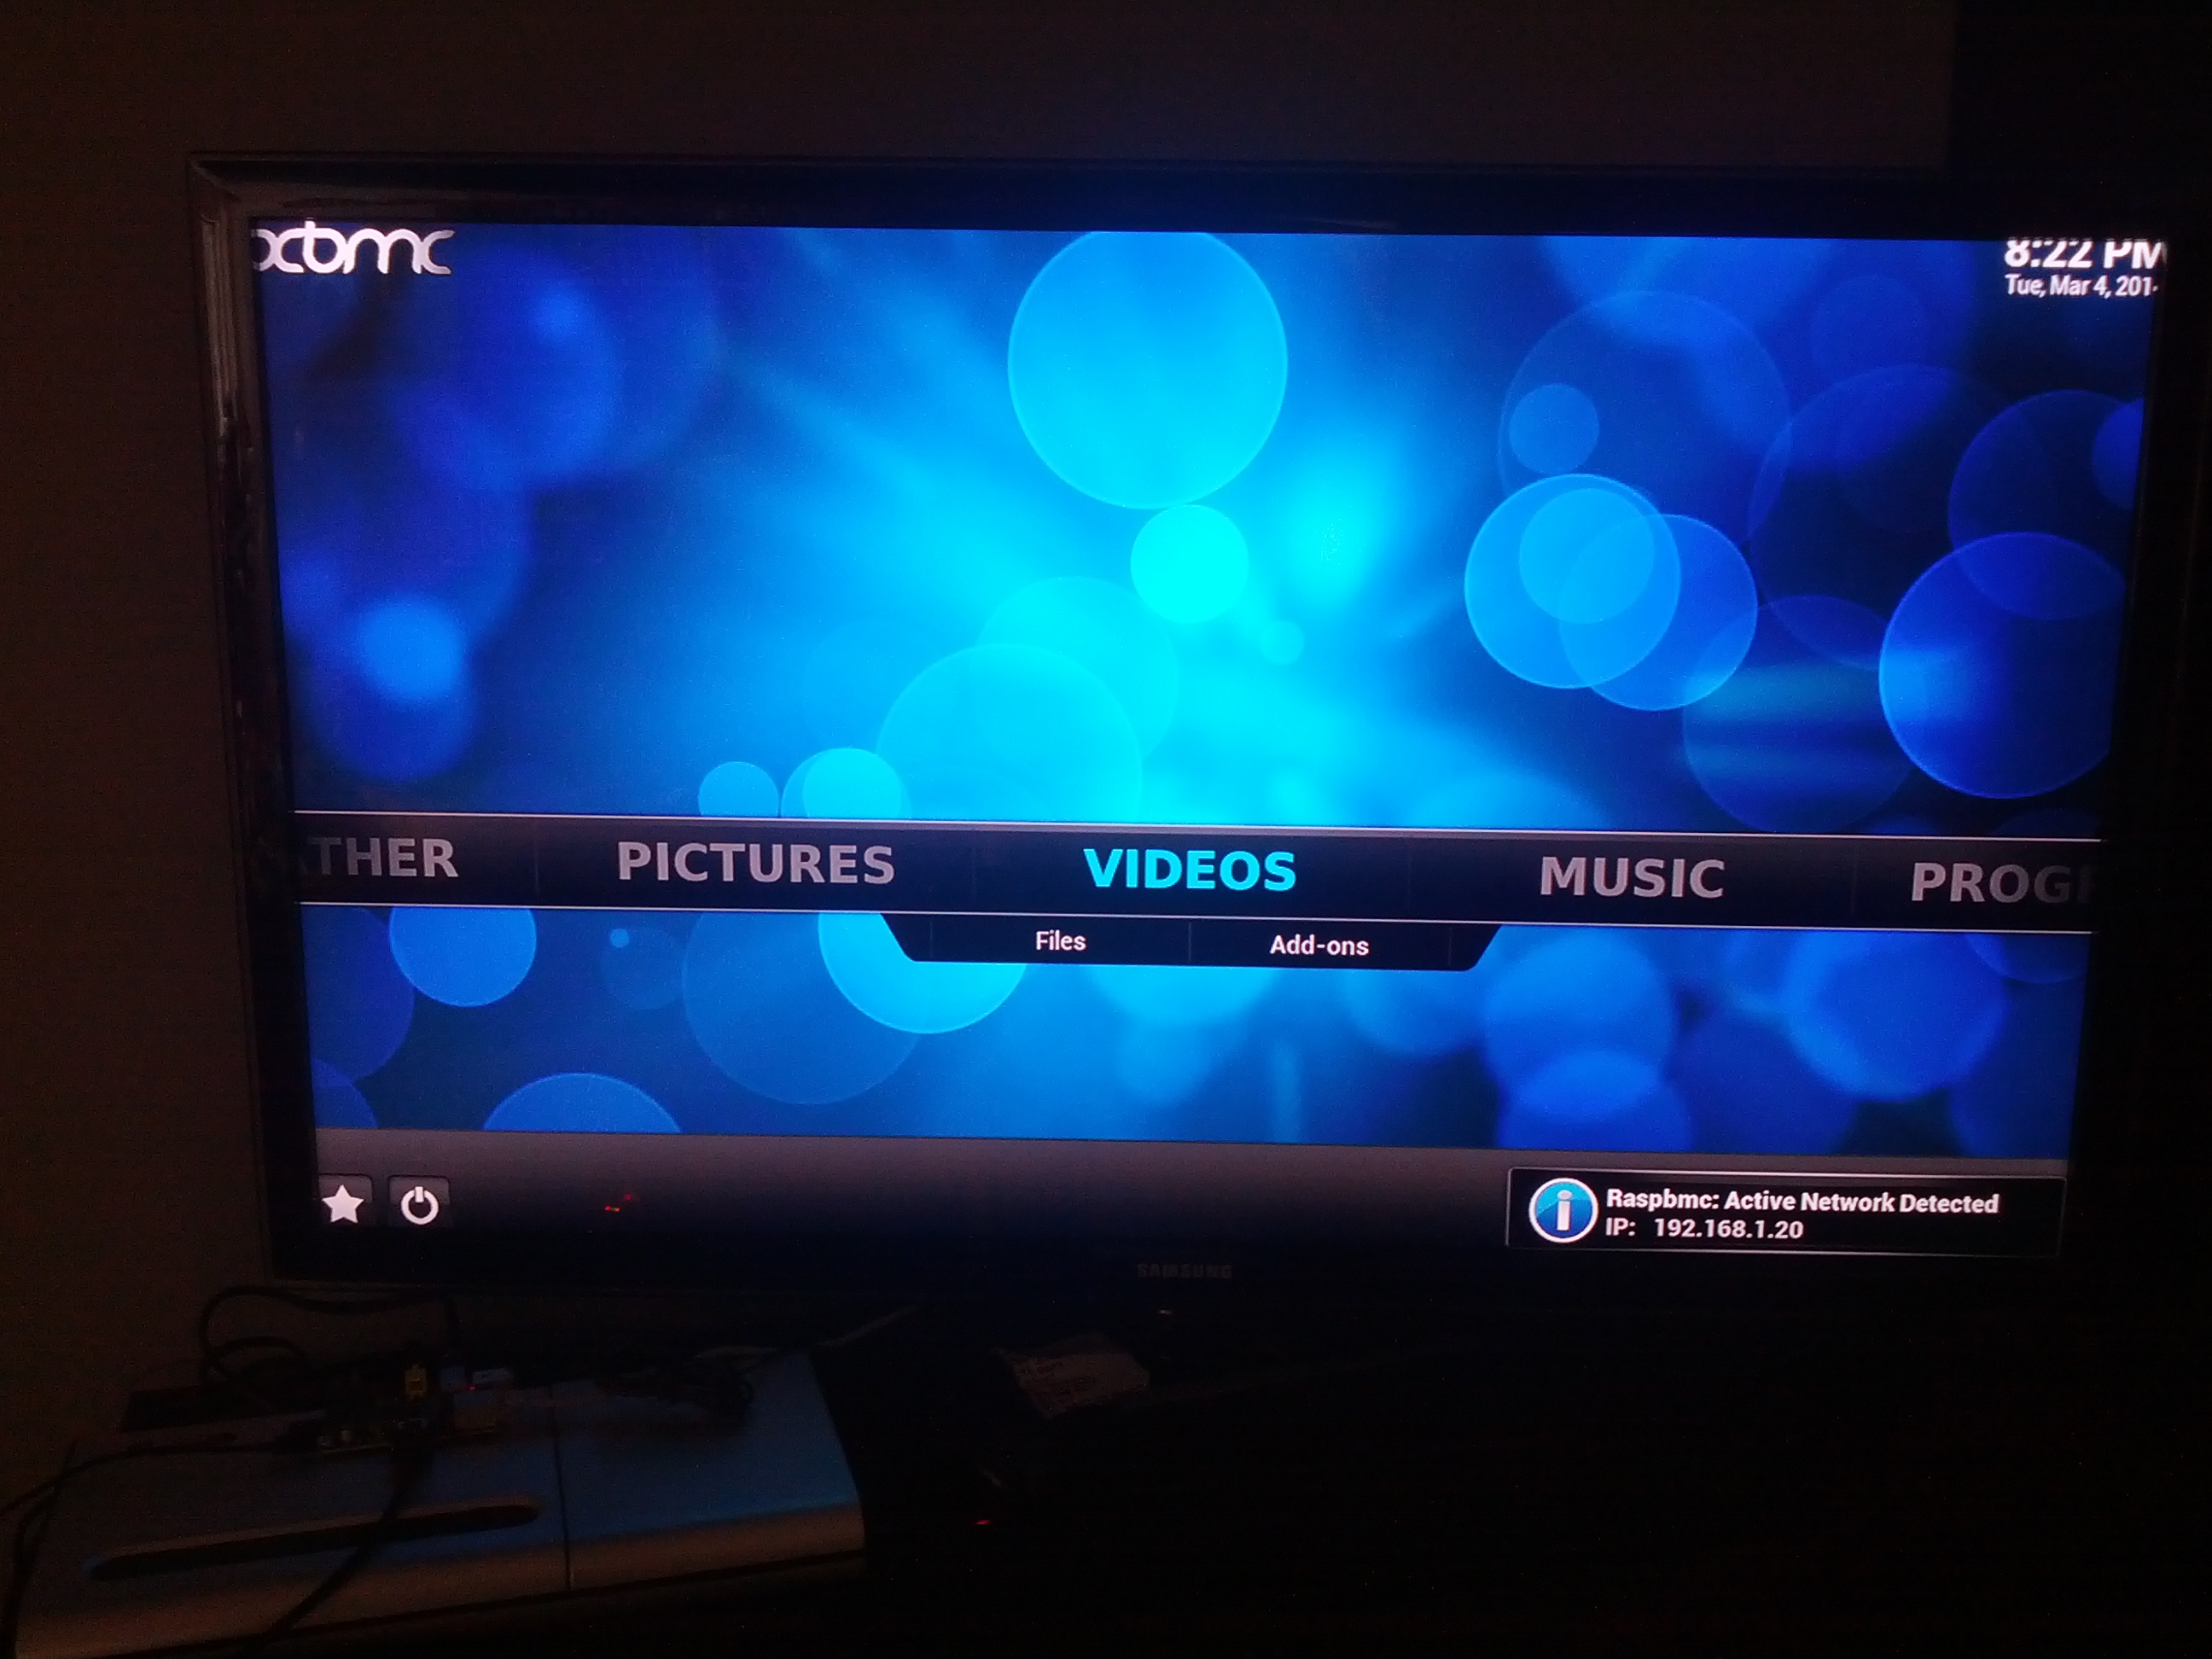
From that point, my TV remote worked to control the Raspberry Pi XBMC user interface. Sweet. That is definitely one good thing about HDMI. They added a wire to send info back to the source. And Samsung thankfully use it with their Anynet+ to send remote control commands.
I then looked up the official XBMC android app for remote control. Quickly got that working as well so my cell phone was controlling it over the LAN. made for much easier typing of sources for the add ons.
Everything was working pretty much perfect.. added the NAV-X program as well.. It has some nice HD movies available.
Found out that even hitting ‘shut down system’ on the XBMC actually turned the TV off too.
Turning it back on doesn’t seem so simple using a wall plug. had to unplug and replug. Likely this will be better once I switch to the TV USB as a power supply.
Another cool thing about the cell phone remote app, is that it also sends texts and call display messages to your tv, so you can see them without looking away.
One downfall I am still looking into – the analogue audio out, which goes to my ancient (but great sounding) Bose Lifestyle system, seems to be extremely low sound for the dialogue, with the sound effects tracks a bit louder. So I can’t use it yet.
Another, is how I will switch to my projector when I want. A quick solution would be an HDMI switch I suppose.. I’ll have to look into that.
I’ll add some of the sites that helped me out with the setup soon..
FUSION installer… http://www.tvaddons.ag/fusion-installer-kodi/
after running those steps and installing from zip, etc.. might need to go to the programs and run the config wizard for the OS you are running (ie. unix). This actually sets it all up to be ready to use.
hooked it up with my google play account. can now stream my library using my tv.. nice.
was a bit of a pain though.. found a repository to use, but had to download it from pc.
this site
https://seo-michael.co.uk/how-to-add-google-play-music-to-xbmc-kodi/
pointed me to
Foreverguest Repo Zip File from :
https://app.box.com/s/3znomip8yab0mju6haug7ib7x7wmoxje
had to figure out how to get the file from pc to pi.. found out my pi is easily accessible on windows browser, just //[pi name] (mine was livingpi)
login is default – i hadn’t changed it (pi/raspberry)
had to figure out the share folders i was seeing.. put the file in the ‘downloads’ folder.
back to kodi: system-settings-add ons-install from zip file
chose home folder. selected Downloads, and there it was.
Went to system-settings-add ons-install from repository. forever guest was there. Into music addons within that. google music EXP. Select it and install.
problem: failed to install dependency.
after more research, found out had to check log for what was failing. Couldn’t install the log viewer within the kodi repository.. but found the ‘logfiles’ folder in the same windows share folders. was a zip file of logs
searched the files for word ‘dependency’.
got one result showing error for “script.module.decorator”
searched the web for that. used google advanced search to just get the past years pages.
found https://ftp.gnome.org/mirror/xbmc.org/addons/frodo/
went to the folder for my item.. downloaded the zip file. repeated above steps to transfer it over and install from zip. worked quick.
retried the foreverguest music addon and it installed immediately.
entered in my google account.. a couple minutes of library sync.. and voila!
and as of right now, my tv is on a sonos system. The sonos interface with google play doesn’t let me play entire folders (ie. just play all of a genre). This has been a big pain point for me. But now using this kodi add on, i can. love it.
never noticed how out of date i was.. my kodi was v 15, and they were at 17.2.. turns out to update kodi, really i just update openelec and they have the kodi version in it.
so i grabbed the latest openelect for Pi..
then connected to my pi (this time i ftp’d to it using root/openelec). placed the downloaded .tar file into the .update folder.
then just selected reboot on the power menu in kodi.. and it installed the update automatically.. migrating the add ons i had…. (hopefully.. it’s still in progress on that)
And now I’ve noticed that openelec didn’t keep up to date with Kodi very well.. So switching to libreelec as they apparently keep right up to date..
with the complete refresh of the OS, i had to get all my add-ons. was a bit of a pain but hit paydirt when i found the kodil repo.
for the last few months i haven’t used it much.. but it doesn’t seem to have any active streams anymore… i’m now wiping out liberelec and trying OSMC… downloaded the latest for my pi 3 version b… used the Win32 disk imager app to write it onto the card.. threw it into the pi and waiting as it installs files…