-Avocado 1-2
-Tomato 1/2-1
-Red onion 1/4(ish)diced very small
-Juice of 1/2-1 lime
-Kosher salt (pinch)
-Cumin (pinch)
-Fresh cilantro chopped finely to your taste
Avocado salsa
1

-Avocado 1-2
-Tomato 1/2-1
-Red onion 1/4(ish)diced very small
-Juice of 1/2-1 lime
-Kosher salt (pinch)
-Cumin (pinch)
-Fresh cilantro chopped finely to your taste
Can be broccoli, cauliflower, Asparagus, whatever sauce….
Butter to pan and melt
Grate 1 plate of gouda cheese
1 heaping tbsp cornstarch, stir
Add 1 cup milk
Add nutmeg and pepper
Heat at number 8
Add 3 caps of lemon juice
When boils add cheese and stir.
If too thick add milk
Add 1 egg yolk stir
Ingredients
1 cup butter, softened
1 cup white sugar
1 cup packed brown sugar
2 eggs
2 teaspoons vanilla extract
1 teaspoon baking soda
2 teaspoons hot water
½ teaspoon salt
3 cups all-purpose flour
2 cups semisweet chocolate chips
1 cup chopped walnuts
Directions
Preheat the oven to 350 degrees F (175 degrees C).
Beat butter, white sugar, and brown sugar with an electric mixer in a large bowl until smooth. Beat in eggs, one at a time, then stir in vanilla. Dissolve baking soda in hot water. Add to batter along with salt. Stir in flour, chocolate chips, and walnuts
- ½ cup butter
- 1 cup white sugar
- 2 eggs
- 1 teaspoon vanilla extract
- ⅓ cup unsweetened cocoa powder
- ½ cup all-purpose flour
- ¼ teaspoon salt
- ¼ teaspoon baking powder
Frosting:
- 3 tablespoons butter, softened
- 3 tablespoons unsweetened cocoa powder
- 1 tablespoon honey
- 1 teaspoon vanilla extract
- 1 cup confectioners’ sugar
Directions
Preheat oven to 350 degrees F (175 degrees C). Grease and flour an 8-inch square pan.
In a large saucepan, melt 1/2 cup butter. Remove from heat, and stir in sugar, eggs, and 1 teaspoon vanilla. Beat in 1/3 cup cocoa, 1/2 cup flour, salt, and baking powder. Spread batter into prepared pan.
Bake in preheated oven for 25 to 30 minutes. Do not overcook.
Remove brownies from the oven, and make frosting. Combine 3 tablespoons softened butter, 3 tablespoons cocoa, honey, 1 teaspoon vanilla extract, and 1 cup confectioners’ sugar. Stir until smooth.
there were some dead spots in my house.. so i was pondering buying a repeater or extender.. But then I recalled I had an older router packed away from when i replaced it with a newer model.. And i figured there must be a way to use it as the repeater/extender..
looked into it and as a repeater it could work (connects wirelessly to my other router).. or even as a ‘bridge’ (connects wired to my other router).
As luck would have it, i already had a wire going across my house to the area of the dead zone.. so i went with the bridge method.
I tried using the repeater function as well on the older router, but it expected only WEP security and specific channel to match the base router. Didn’t like that.
This site helped me with one thing i missed, which was connecting the wire to LAN instead of the internet slot:
https://networkingguides.com/connect-two-routers/
Pasted here in case link goes down..
Does Any of the Routers Have AP Mode?
Before we get started with how to use two routers and yet, have just one network, we first need to understand how the second router should be set up. Nowadays, you can purchase something called access points, or WAP, wireless access point. This is a product that is doing nothing other than to extend your WiFi connection.
A big difference between a router and an access point is that a router is doing so much more than an access point. A router will, for example, use DHCP to give devices an IP address in your network. A router can also do stuff like port forwarding and other types of networking stuff. An access point can’t do these things. If an access point gets a DHCP-request, it will forward that request to the router. What we need to do, is to make one of the routers more like an access point.
There are two ways to do this. If you have a router that is just a few years old, there is a high chance that the router has something called AP Mode. When a router is set to AP Mode, all things that are different between a router and an access point is turned off automatically. However, if you do not have this setting, you will need to turn off these things manually. To make a guide that is good for everyone, I have explained both ways down below, so do not worry if you don’t have this easy setting on your router.
But how do you know if you have AP mode on your router? Well, I wish I could tell you how you can see this on your router but unfortunately, there is no big red message on routers with AP mode. You can either:
Go to your router settings and start looking for something called AP Mode, most likely in administrator settings
Search your router model and “AP Mode” to see if you can find anything
Read the instructions guide for your router
If you have purchased a new router and found out that there is an AP Mode on that but not on the old router, do not switch. The newest router should always be the main router which is taking care of all the network stuff. This will ensure that you have new and fast hardware that takes care of network requests. New routers are often much more secure and since they are connected to the internet, that is a huge benefit.
For this guide, I am using my old Asus RT-N56 router as the secondary router while I am using my current main router, the Asus RT-AC68U, which you can find on Amazon, to be the master router.
Step 1: Configure the 2nd Router
Time to start configuring your router. I usually start with the 2nd one. Make sure to disconnect the power from both routers so that no one is connected to your network. We don’t want to configure the wrong router.
Take the 2nd router and make a factory reset on it to make sure there are no old settings on it. This is usually done by pressing a reset button on the back of the router and holding it in for a few seconds. Another way is to take a needle or similar and put it in a reset-hole on the back of the router. Please look in the manual or search Google to find out how to reset your router.
When your router has been reset, connect an ethernet cable to LAN 1 on the back of the router and the other end to the computer and turn the router on (if it isn’t already on from the reset). Open a web browser on the computer and go to the default IP address of the router. This is usually 192.168.0.1 or 192.168.1.1.
Since you have done a reset of the router, you will most likely have to go through a starting guide where you have to enter some information. When it’s time to choose the SSID and password, choose the name and the password that you want as your WiFi.
Since an IP address is unique, we also need to change the IP address of this 2nd router as the first one will likely have the same IP as the 2nd has right now. This would mean that you would have an IP conflict in your network and it would not work as you expect. In the router’s settings, change the IP to something else. My recommendation is to change the last number to a 2 instead of a 1, so it looks like any of these:
192.168.0.2
192.168.1.2
On my Asus N56U, I can find the IP settings under the LAN-category in the settings menu. Set the IP address and confirm and then let the router restart. You will also lose connection to the router since you have changed IP, so you will need to go to 192.168.0.2 or 192.168.1.2 in your browser to get back to the router settings.
The only thing left now is to turn off router-specific settings. Down below, I have explained how to do it with and without AP Mode, so choose the one that is suited for your router.
When Your Router Have AP Mode
If you have a router with AP Mode, you need to go to the settings for your router. Most likely, the IP address is now 192.168.0.2 or 192.168.1.2. On my Asus router, I can find the setting under Administration in the settings menu. Choose Access Point (AP) Mode and click Save. This will restart the router again, but this time it will turn off all the router-specific settings, which is what we want.
When the router has restarted, you can disconnect it from the power outlet as well as the computer as it’s time to configure the main router now, which is almost the same steps.
When Your Router Doesn’t Have AP Mode
If your router doesn’t support AP Mode, you will have to manually turn off router-specific settings. This is almost as easy as AP Mode. This is because settings on a router are based off one specific setting so if you turn it off, the router will stop with other settings as well.
This setting is DHCP. On my Asus router, I can find DHCP settings under LAN and then DHCP Server. Here, I can choose to turn off the DHCP server, which is exactly what we want. This will stop the router from giving out IP addresses to devices in your network and will also stop giving out the default gateway and DNS servers and such. So, turn off the DHCP server and apply the settings. Let the router restart.
When the router has restarted, you can disconnect it from the power outlet as well as the computer as it’s time to configure the main router now, which is almost the same steps.
Step 2: Configure the 1st Router
We have now done the hard part of configuring one router and it’s time to do the same on the first router that will act as the main router. There isn’t much that needs to be configured here at all, the starting guide will take you through most of the settings and we don’t need to change anything either.
If you have been using the router before and you already have it up and running, there is no need to factory reset it. Just make sure that the SSID and the password are the same on this router as it is on the 2nd router that we just configured. If it is, continue to step 2b.
If the router is not yet configured, plug-in power and connect it to your computer using an ethernet cable. Now, go to the default IP address of the router, which you have learned by now is either 192.168.0.1 or 192.168.1.1. When you first get there, you will have to go through a starting guide for the router, choosing admin passwords and set up your wireless network. Here you must choose the same SSID and password that you chose for the 2nd router that we just configured.
Step 2b: Configure DHCP Settings
When you are done with the starting guide and you at the router settings, there is one thing that we need to do on the first router. That is to change the DHCP server settings to not interfere with the 2nd router. Many routers have DHCP configured to start already at the .2 IP address. This is something that we want to change.
Under your DHCP Server settings, which can be found under LAN > DHCP Server on my Asus RT-AC68U router, you need to change the IP Pool Starting Address. I have mine set at 192.168.1.100. This means that any device that connects to my network will have an IP address that is higher than .100. The max for networks is .254, so technically, I can have 154 devices in my network that is using DHCP. However, I also have a lot of other devices in my network with static IP addresses that are below .100.
If you are someone that doesn’t need static IP addresses, I suggest that you have this set on .10 so that you have a few reserved IP addresses if something would come up. It doesn’t affect the performance at all so it doesn’t matter. You just don’t want it to be .2, that’s the main goal.
Step 3: Connecting the 2nd Router to the 1st Router
Now that both the routers have been configured, there is only one small thing left and that is to connect them. To do this, you will need an ethernet cable. Depending on how far away these routers will be to each other, the ethernet cable might need to be quite long. Yes, it is possible to do this by connecting them wirelessly, but I highly suggest using a cable as both routers will talk a lot to each other and it’s best with a stable connection then.
Connect the cable to one of the LAN ports on router 1 and then route the cable through the house to the placement of router 2. This next bit is very important and is the biggest reason why people have problems with this solution:
DO NOT CONNECT THE ETHERNET CABLE TO THE WAN-PORT, CONNECT IT TO A LAN-PORT INSTEAD!
connecting the ethernet cable to the WAN-port of the 2nd router will fail and the setup will not work as expected. I’ve had at least three friends calling me about their setup not working and then it’s just a matter of switching port. So, make sure the ethernet cable is connected to a LAN-port on both routers.
Once they are both connected with the cable and they are powered on, you are done. Congratulations, you now have two routers in your home where one is working as an actual router while the other one is working as an access point, extending your WiFi and giving you more ethernet ports in other parts of the house.
If you want, you can go an extra step further to make sure that they do not interfere with others. This is something I highly suggest that you do if you have done all the work to set up everything, as it’s nice to know it works as good as possible.
Making Sure They Don’t Interfere with Each Other
Since you now have two routers that are relatively close to each other, you need to make sure that they do not interfere with each other. What do I mean with that? You see, when a router is putting out WiFi, it does so in a channel. If both routers are using the same channel to put out WiFi signals, they will interfere and disrupt each other. So, you want to make sure that they use different channels.
A channel is a certain frequency. As you may know, radio comes in at a special frequency, and if you want to change the radio channel, you change the frequency. But you may also have heard that two radio stations interfere with each other, if you are in the middle of two cities, or if you are using an FM Transmitter, for example. It’s the same for routers.
In your router settings, you can change the channel on your WiFi signal. However, if you live in an apartment, you most likely have neighbors around you that also have their routers and you don’t want them to interfere with you either. To solve this, there is a program that you can download for free called SSIDer that can help you choose the best channel for your WiFi.
The problem with SSIDer is that it can be complicated at startup, with a lot of graphs and numbers. MetaGeek, a fantastic company that is creating WiFi solutions for companies and professionals, have made a guide on how to use SSIDer and how you can find the best channel for your situation. Check it out down below.
Easier Alternatives
As always, there are other options to extend the WiFi. The latest technology and the best thing that is currently on the market is a Mesh WiFi system. This is when several routers are creating a “net” with WiFi. You can have two or three routers in your home and they all talk to each other to improve your WiFi and making sure that you have a stable network at home.
But nowadays, it doesn’t have to be routers either as many companies have released mesh-packages. An example of this is the Google Mesh Network, which you can find on Amazon. It is a product with three smaller routers, called nodes, that work together to build a mesh system. One of them is the main router that is connected to the network while the others are extending the WiFi connection further.
The biggest advantage with mesh systems instead of connecting routers together the way we have done is that everything is wireless, and the products are made to be wireless all the time, without ever needing a cable. This means that they will communicate on one channel (frequency) and send out WiFi signals on another, which doesn’t interfere with each other. They also work better if you would go from one room to another, as everything is seamlessly connected.
If you would like to know more about mesh systems and why it’s the big buzzword in WiFi today, you should check out How-To-Geek’s guide on mesh systems, as they have made a great explanation of it.
You can of course just get a range extender as well but as they tend to perform bad, losing a lot of speed and often lose signal as well, the mesh system is much more preferred, as well as connecting two routers as we did in this guide
from https://www.recipetineats.com/chocolate-mousse/
Ingredients
Cups
Metric
▢3 eggs (~55g/2 oz each)
▢125g / 4.5 oz dark chocolate , bittersweet / 70% cocoa (Note 1)
▢10g / 0.3 oz unsalted butter
▢1/2 cup cream , full fat (Note 2)
▢3 tbsp caster sugar (superfine white sugar)
i used icing sugar and it could have used more i think
there were a few ‘lumps’
Instructions
Separate eggs and yolks while eggs are cold. Place whites in a large bowl and yolks in a small bowl. Leave whites while you prepare other ingredients. (Note 4)
Yolks: Whisk yolks.
Melt chocolate & butter: Place chocolate and butter in a bowl. Melt in the microwave in 30 second bursts, stirring in between, until smooth. (Stir in optional flavourings at this point, but read Note 6 first). Set aside to cool – proceed with other steps.
Whip cream: Beat cream until stiff peaks form (see video).
Whip whites: Add sugar. Beat whites until firm peaks form (see video, Note 5)
FOLDING:
Fold egg yolks into cream using a rubber spatula – 8 folds max. Streaks is ok.
Check Chocolate Temp: Touch the chocolate. Should still be runny but only lukewarm. If too thick, microwave 2 x 3 seconds until runny.
Pour chocolate into cream yolk mixture. Fold through – 8 folds max. Streaks ok.
Add 1/4 of beaten egg whites into chocolate mixture. Fold through until incorporated – “smear” the spatular across surface to blend white lumps in – aim for 10 folds.
Pour chocolate mixture into egg whites. Fold through until incorporated and no more white lumps remain – aim for 12 folds max.
Divide mixture between 4 small glasses or pots. Refrigerate for at least 5 hours, preferably overnight.
To serve, garnish with cream and chocolate shavings. Raspberries and a tiny sprig of mint for colour would also be lovely!
Recipe Notes:
1. Chocolate: Ensure you use COOKING chocolate, not eating chocolate. Cooking chocolate (baking aisle) is made for cooking with – melts smoothly and is thinner than eating chocolate. If you use eating chocolate, the mousse is denser (I tried).
Bittersweet dark chocolate and 70% cocoa dark chocolate is best to get a good chocolatey flavour. The 70% cocoa sold at supermarkets in Australia is ideal (Nestle Plaistowe, Cadbury and Lindt 70% all work well) – these are bittersweet chocolates.
2. Cream: You must use a cream that can be whipped. Pure, thickened or heavy cream all work here. Do not use “Pouring Cream” that cannot be whipped – the label will say as such if the cream cannot be whipped.
Cream must be full fat – now is not the time to go low fat!
3. Chocolate Shavings: Use a small knife and scrape at a low angle on the flat side of a block of chocolate.
4. Eggs tip: It’s easier to separate whites from yolks when eggs are cold, but whites at room temp fluff up better when closer to room temp. So separate the eggs when fridge cold then set aside while you prep the other ingredients to let the whites come to room temp a bit.
5. Beaten whites consistency: Egg whites can be beaten to: soft peaks, firm and stiff peaks. We want the middle one – firm peaks. This is when you have a “elf hat” floppage at the top of the peak (see video). If it stands straight upright without the little hook then it’s stiff, not firm (still works fine but it won’t hold up as well after a few days in the fridge). If you do not get any type of peaks at all, then keep beating!
6. Flavourings: such as liquor, can be added into the melted chocolate, but make sure it is at room temperature other it can make the chocolate sieze. Stir it in then leave to cool per recipe. You can taste it later to see if the flavour is strong enough for you – but don’t go overboard otherwise you may have issues setting the mousse! Up to 1 tbsp should be fine (and that should be enough!!), don’t go overboard otherwise it might affect the melted chocolate or compromise how the mousse sets.
PRO TIP: Never add flavourings into just melted chocolate otherwise it might seize and become grainy, always ensure it’s combined with something (butter, in this case).
7. Storage: Best within 2 days but keeps for a week in the fridge with only a slight reduction in aeration
2 tablespoons olive oil
1 medium red onion chopped
1 yellow bell pepper chopped
1 carrot chopped into cubes
2 cloves garlic minced
salt & pepper to taste
½ teaspoon paprika
½ teaspoon ground coriander
¼ teaspoon turmeric
½ teaspoon celery salt
½ teaspoon ground cumin
⅛ teaspoon ground cinnamon
cayenne pepper optional, to taste
1 cup frozen peas
14 oz chickpeas (garbanzo beans) one can, drained
6 Peppadew Piquante peppers chopped, mild or hot
1½ cups chicken stock or vegetable stock
A good handful fresh parsley chopped
1 cup instant couscous
Instructions
In a medium-size skillet heat the oil over medium heat.
Add red onion, yellow pepper, and carrot sauté 10-15 minutes or until brown and all the vegetables are your desired tenderness
Add the garlic, sauté another minute.
Mix in the salt & pepper, paprika, ground coriander, turmeric, celery salt, cumin ground cinnamon, and cayenne pepper (if using). Stir-fry until fragrant (about a minute).
Add the frozen peas and cook briefly. Stir in the piquante peppers and chickpeas. Followed by the stock, scraping any brown bits from the bottom of the pan.
Add the chopped parsley and stir in the couscous. Remove from heat and let stand 5 minutes or until liquid is absorbed. Fluff and serve.
Real quick weekend outing made for a relaxing couple days on the beach / poolside…

The pelicans hung around quite a bit.. You can see all the corral that was along the shore.. had to pick and choose where to go in to avoid stepping on them.. smooth sand once a few feet into the water though.. and waist high for like 50 feet out. Wonder if the corral is from the recent hurricanes nearby last summer.

K fell asleep by the pool.. very rare nap! We did get in a little late from our flight..lots of excitement to recover from..
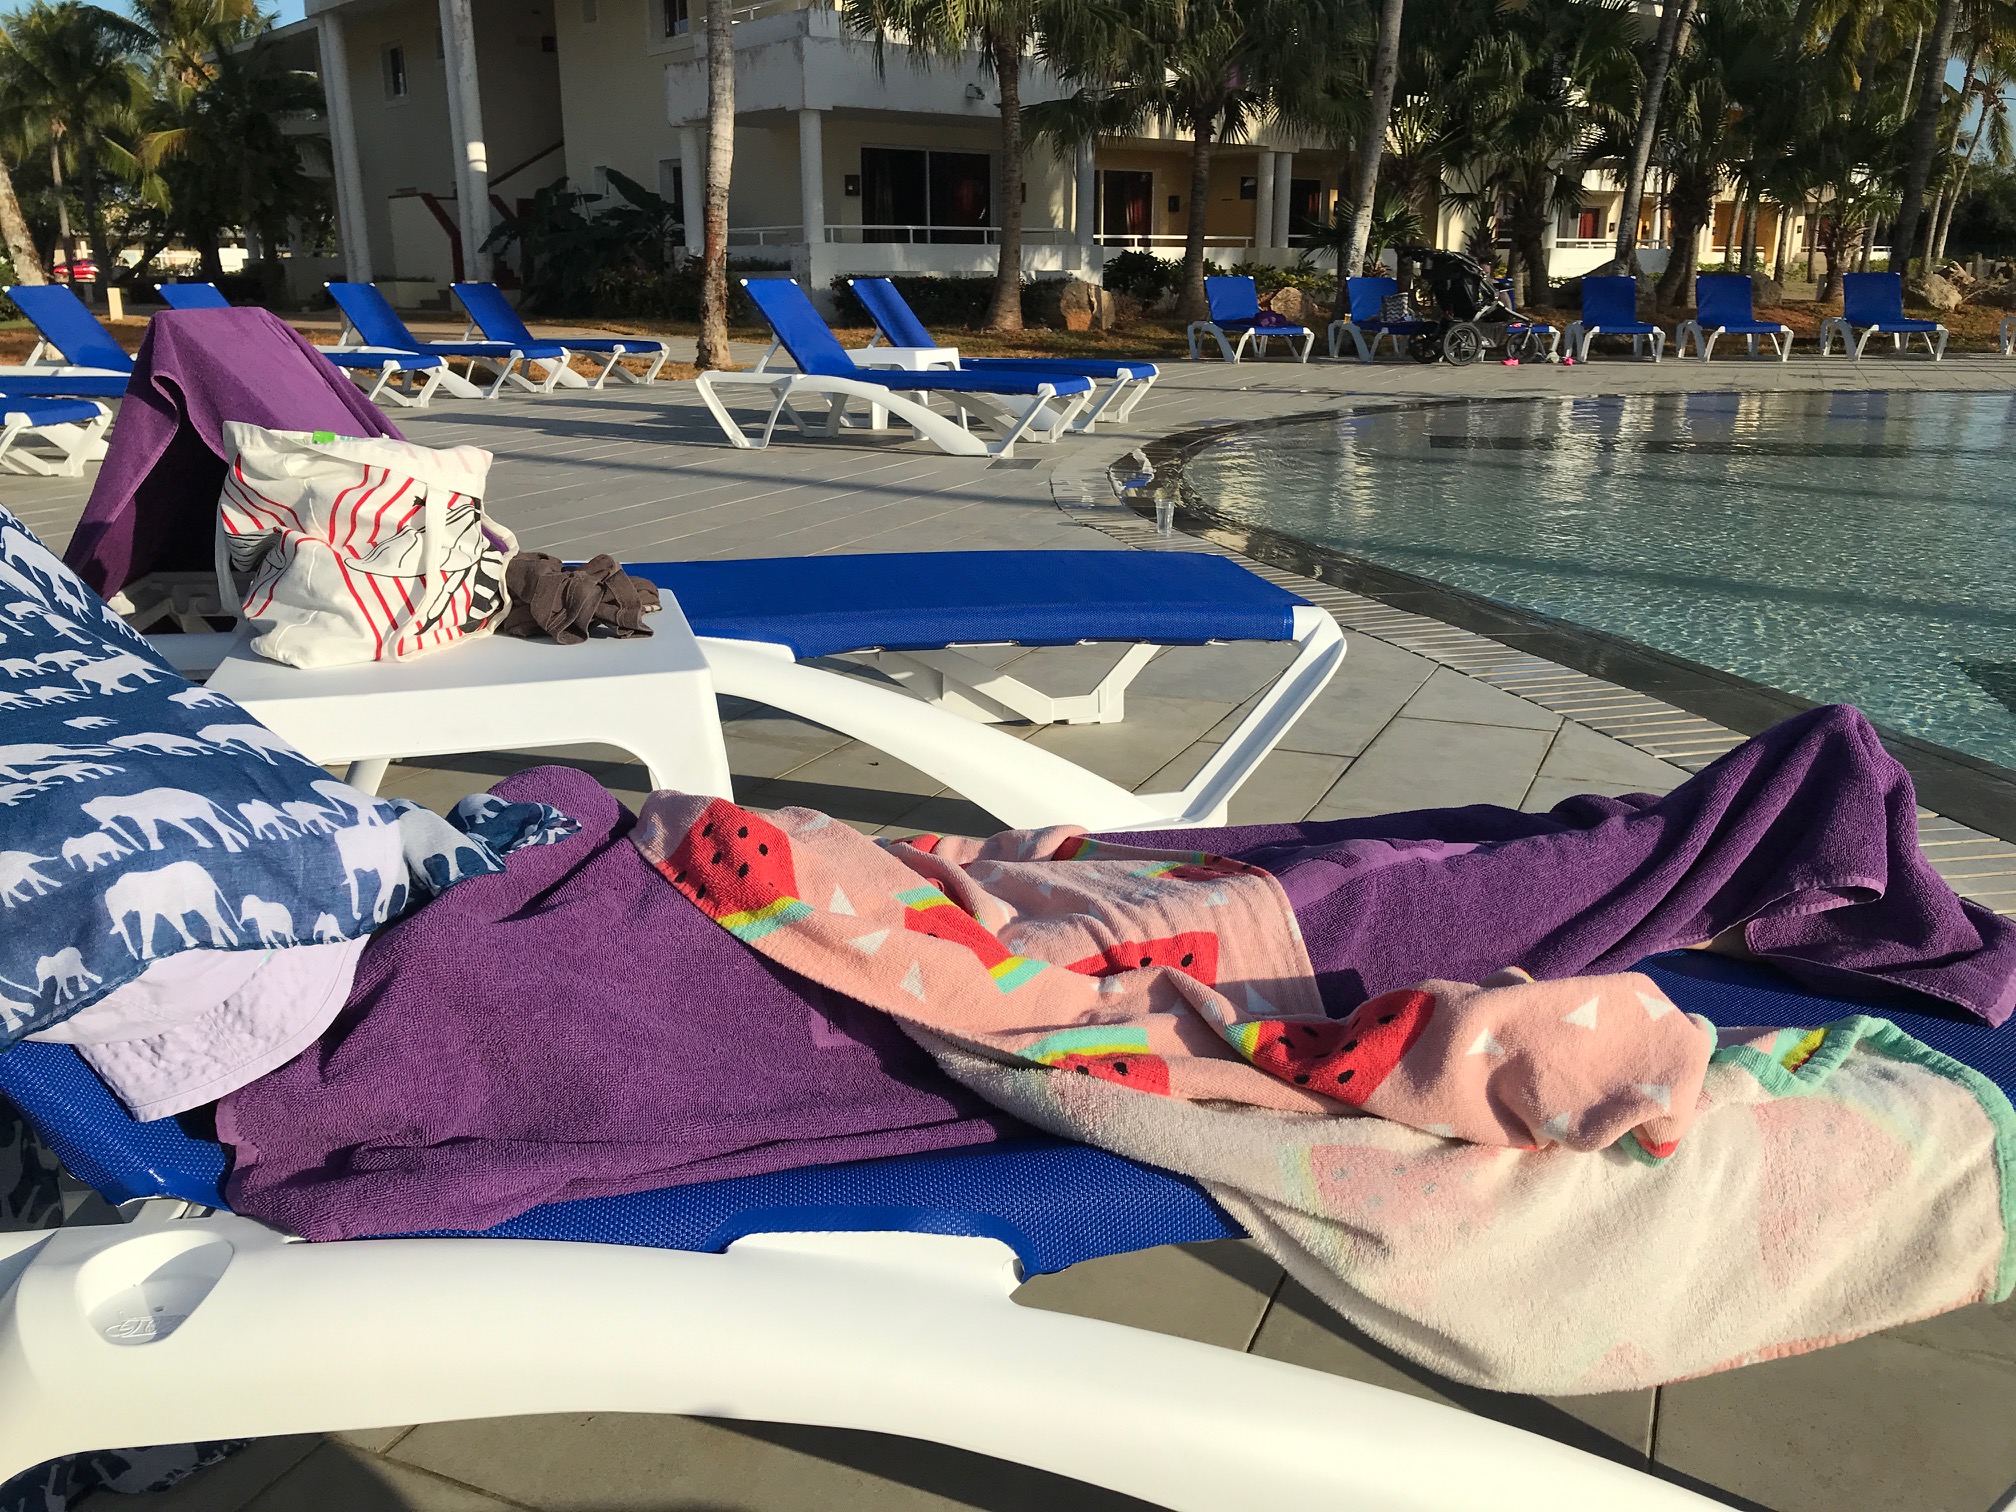
A rocky area behind the apartments..

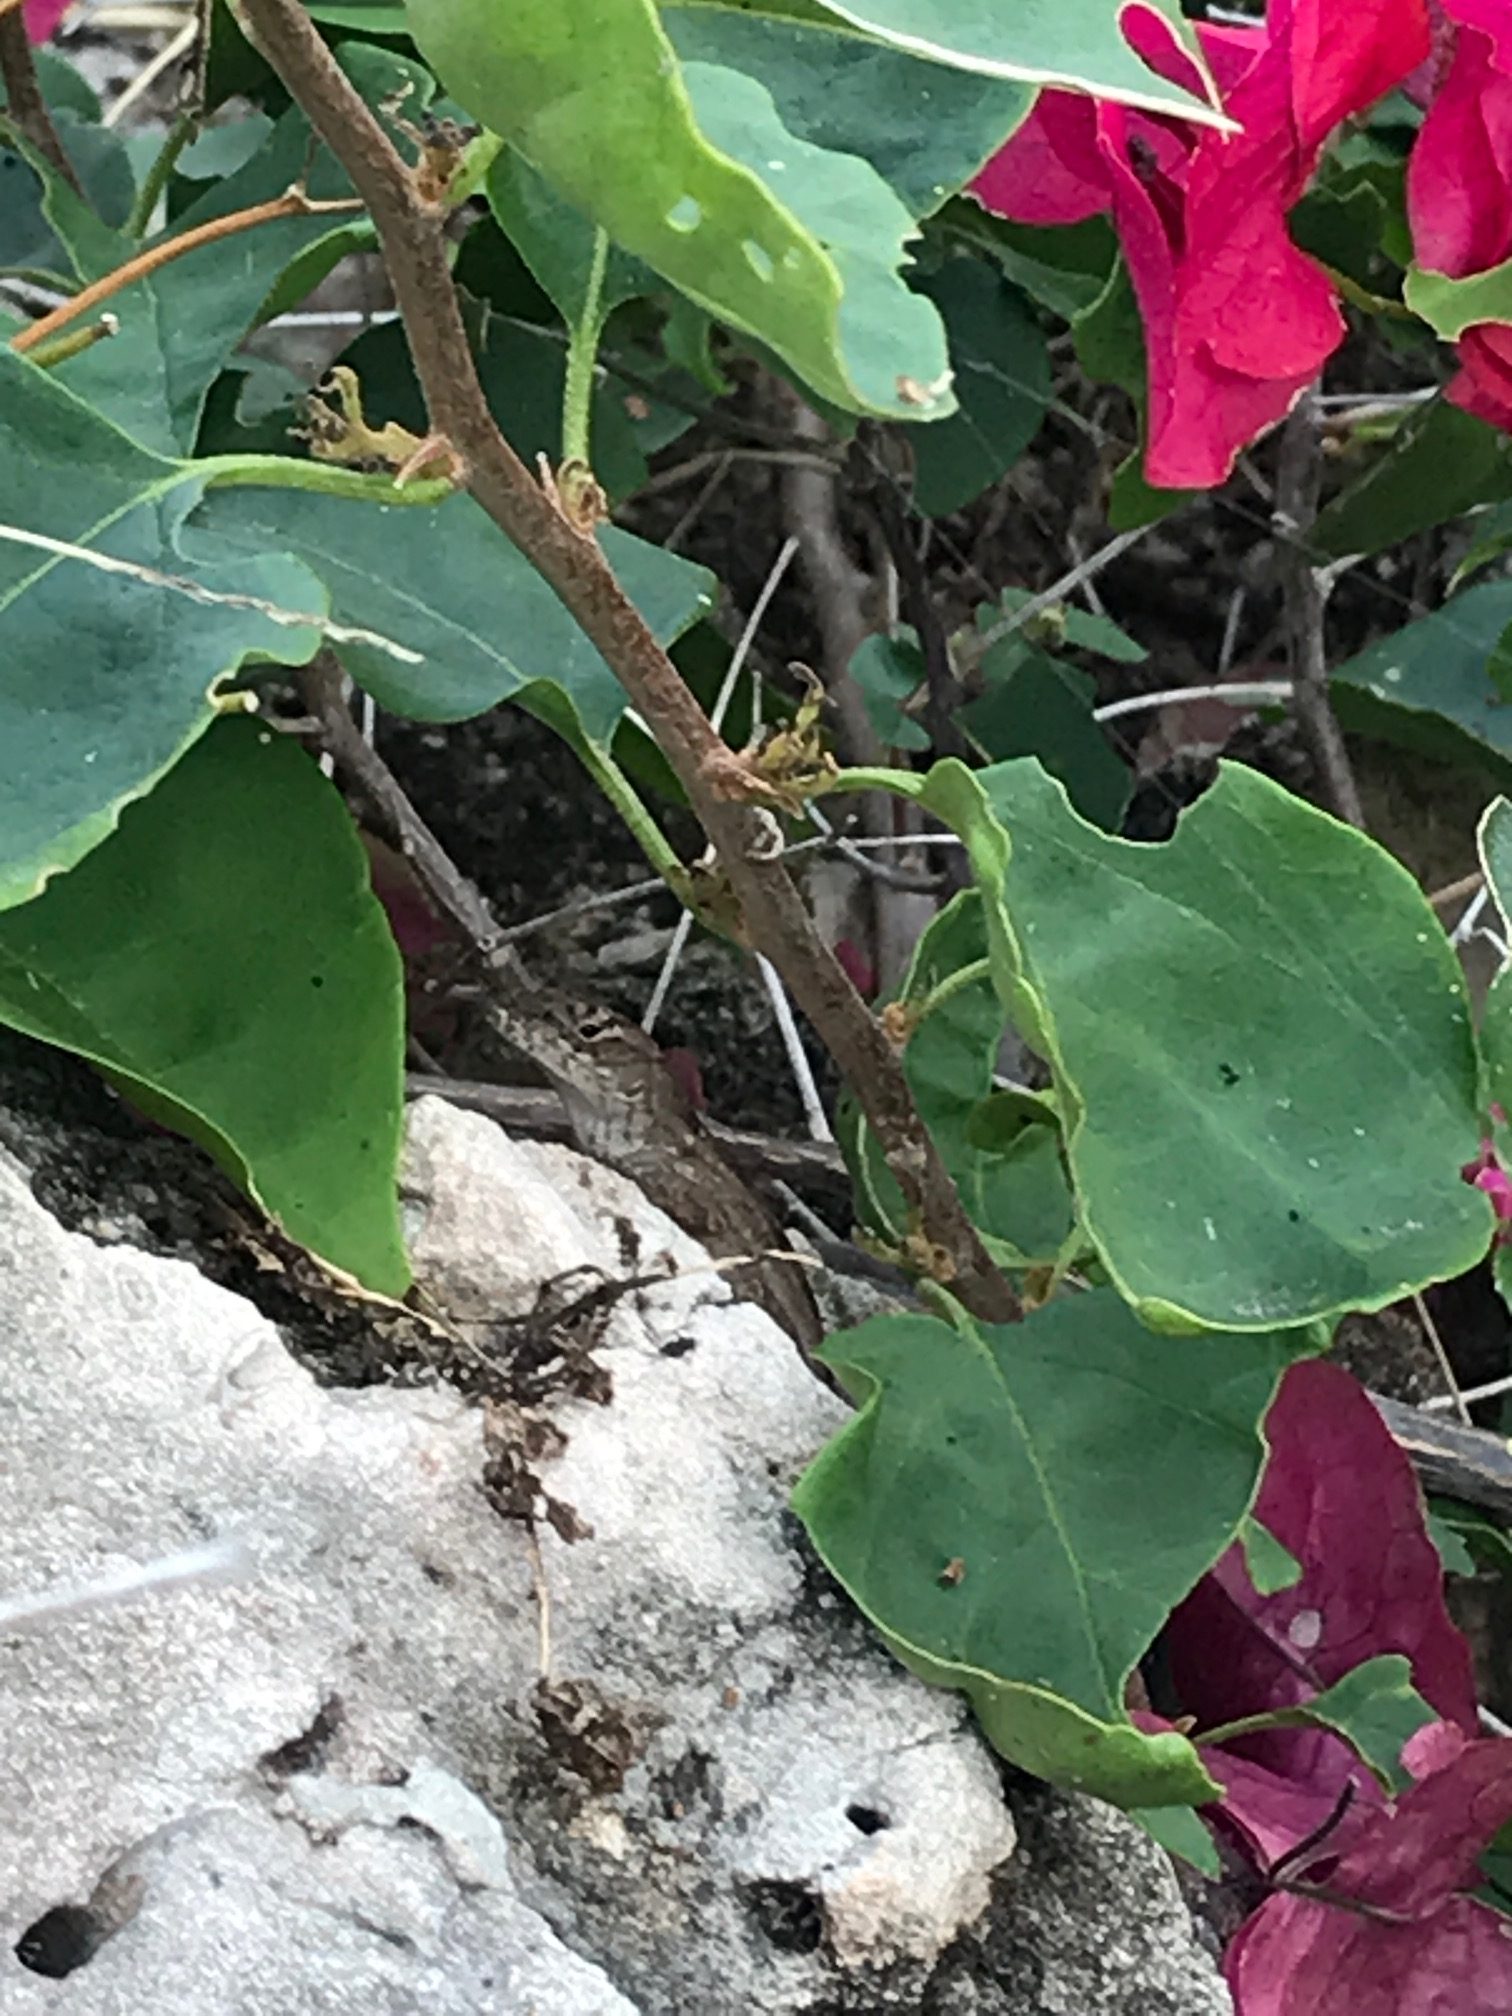
A Cuban lizard..Ola!
My senoritas..



Cuba is full of these classic looking cars.. short and stubby cool looking cars.. Tons of chances to take some pics of great ones, and of course i didn’t .. just this last one from the bus as we headed for the airport

I now have my first iPhone courtesy of the company.. (course the company is way behind and it’s an iPhone 7 while 11’s are being sold in stores)
Not liking a few things already, but i’m sure i’ll get used to it.
First off.. just wanting to add my own notification sounds.. Have to follow this process:
Done. Thanks to https://www.howtogeek.com/248489/how-to-add-custom-ringtones-to-your-iphone/
Also.. they haven’t yet enabled simple stuff like have the weather shown on your lock screen! Oh, apparently recently they did add that – but only for Do Not Disturb settings, so it only appears briefly, after you leave your do not disturb period. So silly.
Also, homescreen icons must be locked into a grid which automatically compresses to top left. Should be able to place anywhere on the screen – with maybe the grid locking, but no compression to the top. Saw there is an app out there that lets you customize this better.. we’ll see if i bother.
I am liking the mail app, and how it handles multiple accounts, and choosing the mailboxes to display..
Dislike the way to switch / close apps.. it’s tedious to ‘hard swipe’ from the left, half way on the screen.
I’m sure i’ll add some more bitching / tips below over time..